Human Evaluation/Labeling
Why Human Evaluation Matters
Human evaluation is essential for measuring dimensions of quality that automated evals can’t capture—like cases of high sensitivity, required SME knowledge, or nuanced accuracy in specialized domains. While model-graded and code-based evals scale efficiently, human judgment remains the gold standard for subjective quality measures and for validating that your automated evals are actually measuring what matters.Common Use Cases
Spot-checking production quality - Regularly sample a subset of production completions to ensure your LLM maintains quality standards. This catches issues that automated evals might miss and helps calibrate your team’s understanding of “good” vs. “bad” outputs. Building ground truth datasets - Create labeled datasets that become the foundation for model-graded evaluations. Human labels serve as the “answer key” that trains and validates your automated evaluation layer. Measuring subjective dimensions - Evaluate qualities like helpfulness, empathy, tone appropriateness, or creativity—aspects where human judgment is more reliable than algorithmic scoring. Debugging edge cases - When automated evals flag unusual patterns or when users report issues, human review helps you understand what’s actually happening and whether it’s a real problem. Calibrating automated evals - Compare human labels to model-graded eval scores to measure alignment. This validates whether your automated evals are trustworthy enough to use at scale.Getting Started with Human Evaluation
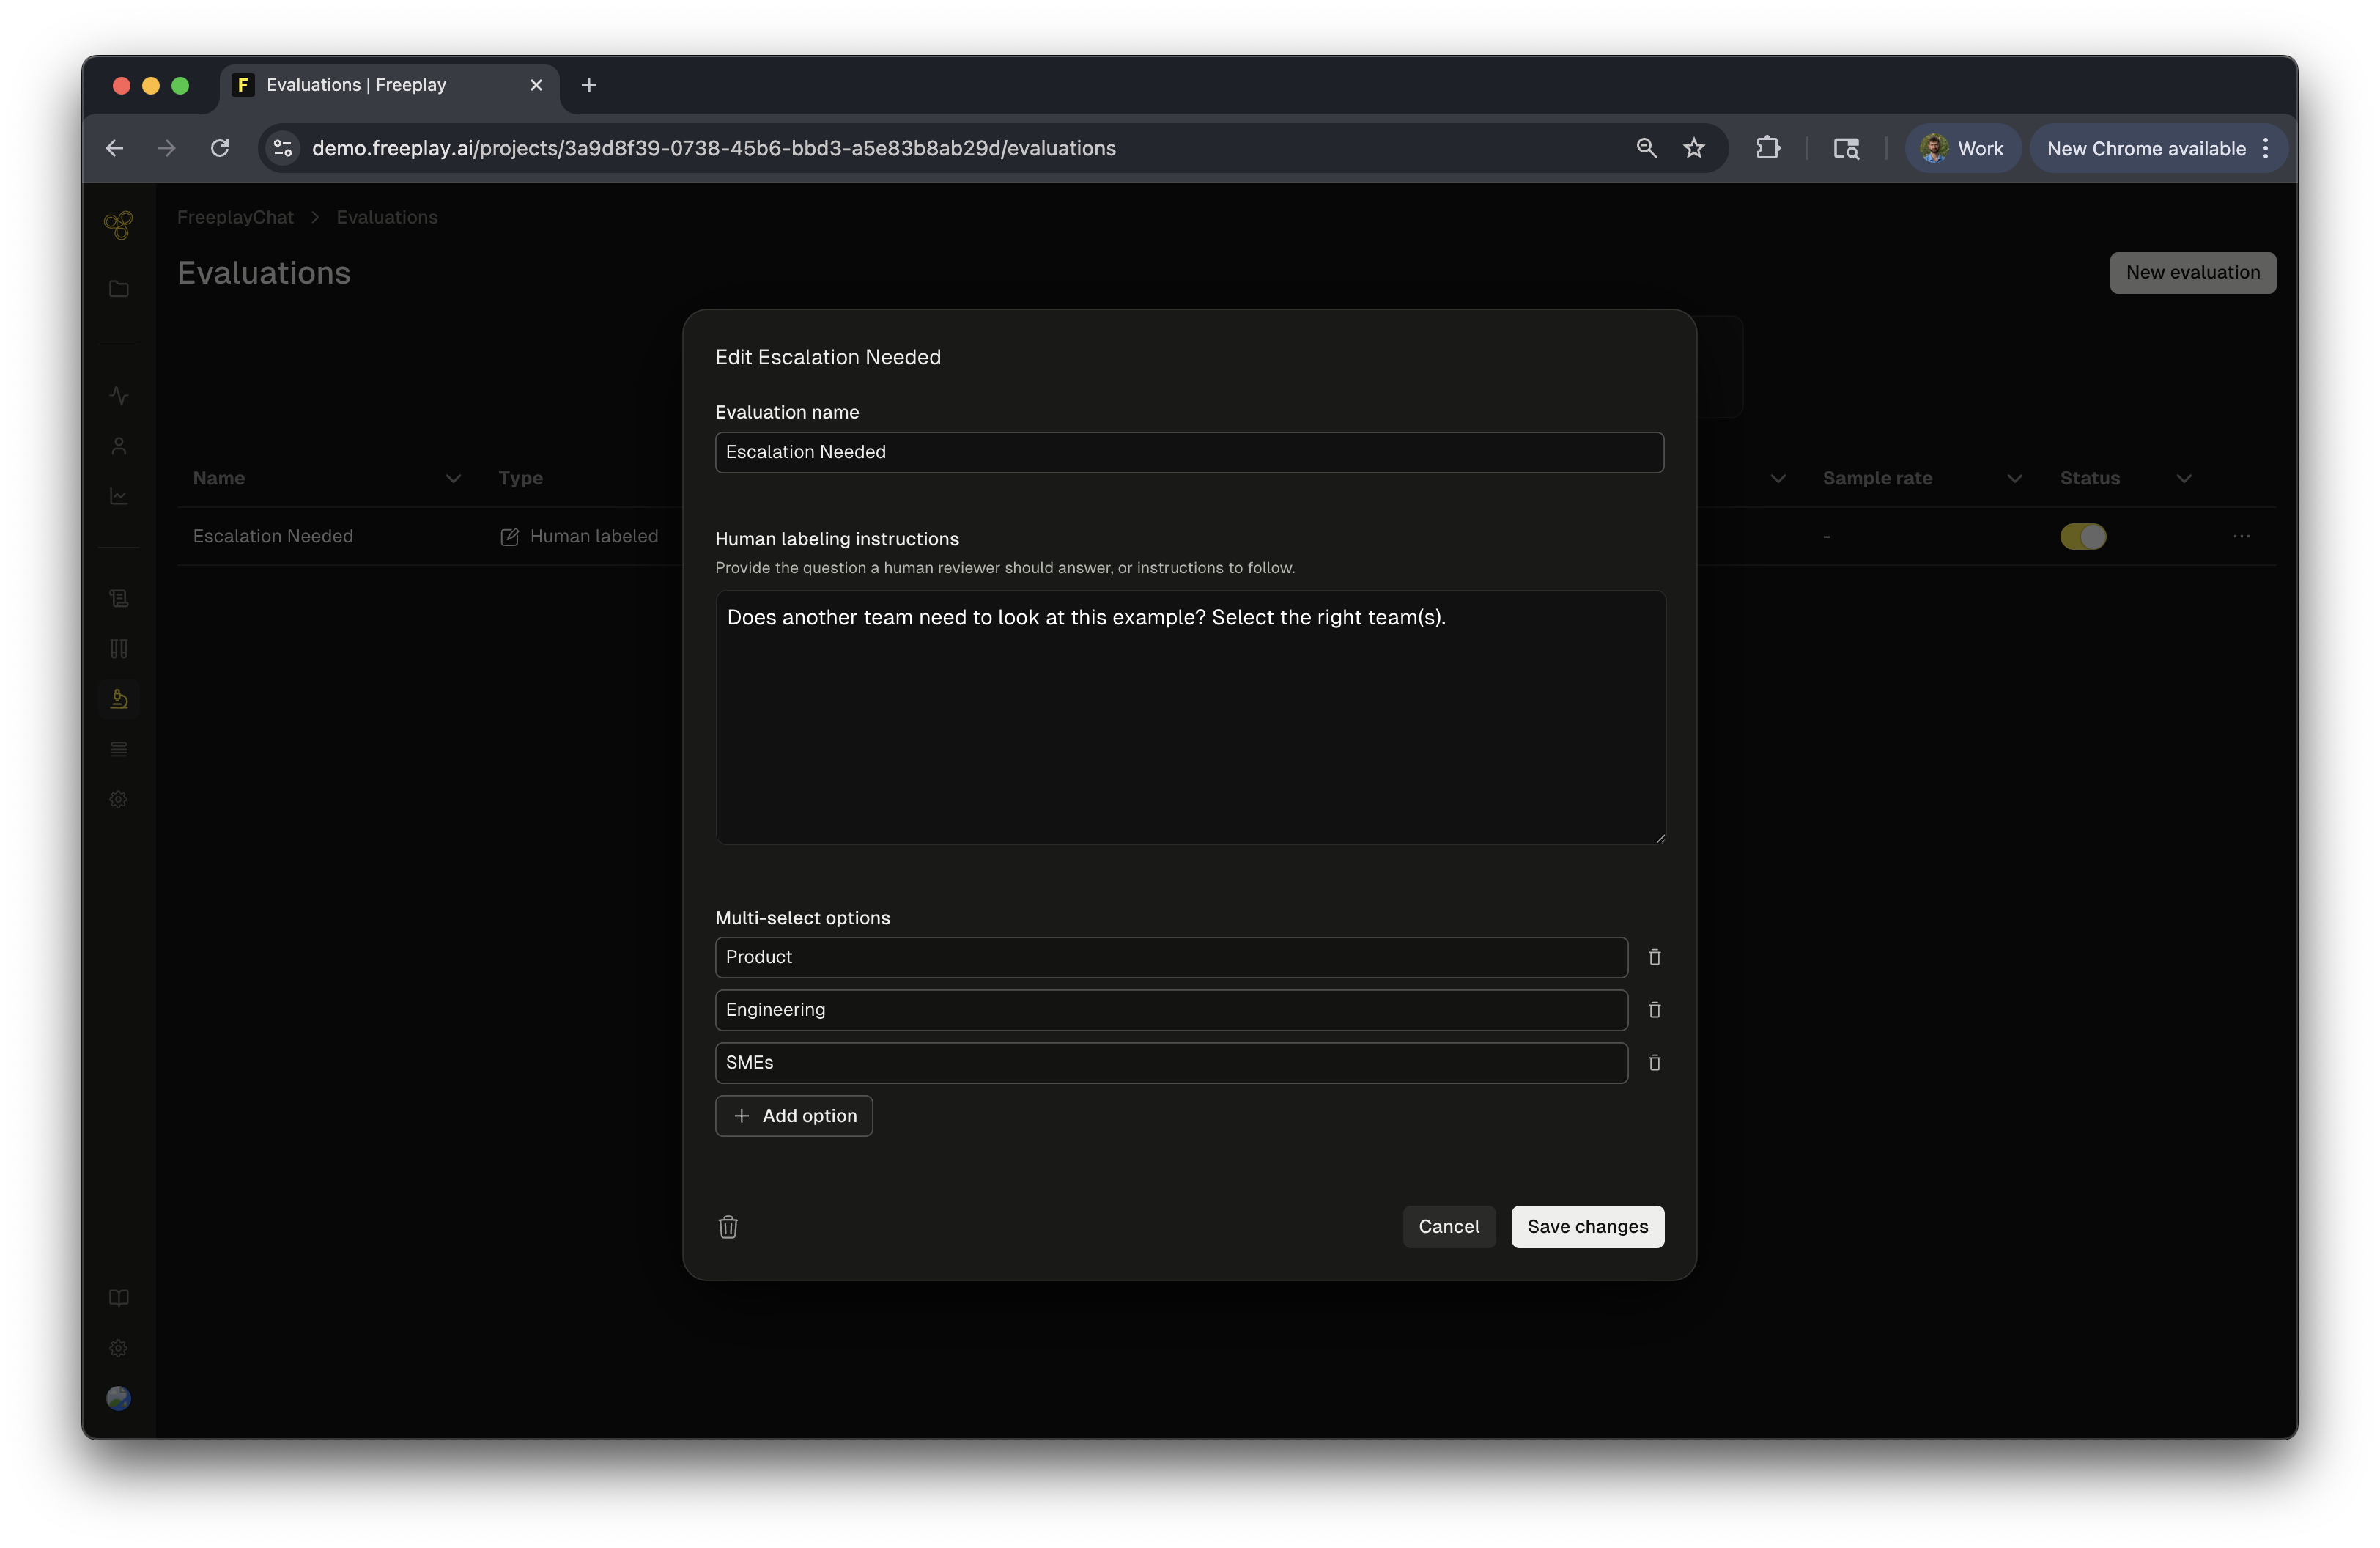
Freeplay makes it easy for your team to label sessions directly in the platform. Team members can label individual sessions or filter groups of sessions that share common criteria (e.g., weekly spot checks of production data, all completions from a specific user segment, or sessions where automated evals flagged potential issues). 1. Invite your team Navigate to Settings > Account > New user to add team members. Only Admins can invite new users. Consider inviting domain experts, product managers, or customer success team members—the people who understand quality in your specific context. 2. Browse and search sessions Use the Observability tab to search sessions based on date ranges, eval scores, user feedback, custom metadata, or any other criteria. This helps you focus human review time on the sessions that matter most. 3. Apply labels Navigate to individual sessions and apply labels in the Evaluation section of the sidebar. Hover over tooltips to see the evaluation criteria and instructions you configured when creating the eval. Labels you apply here feed directly into your evaluation analytics and can be used to build training datasets. 4. Review in batches For efficiency, add completions and traces from any search to a Review Queue. This creates a dedicated workspace where team members can systematically work through records, apply labels, leave comments, and track progress—perfect for regular spot-checking workflows.Best Practices
- Start small: Begin with a manageable sample size (10-20 sessions) to calibrate your team’s understanding of the evaluation criteria
- Create clear rubrics: Define specific, actionable criteria in your evaluation instructions so different team members label consistently
- Track inter-rater reliability: Have multiple people label the same sessions to measure agreement and refine your criteria
- Use stratified sampling: When spot-checking production, sample across different user segments, time periods, or use cases to get representative coverage
- Close the loop: Share insights from human evaluation with your engineering team to improve prompts, tune automated evals, or identify training needs
What’s Next Now review each evaluation type and then move onto test runs once all your evaluations are configured!