Creating and Aligning Model-graded Evals
Model-graded evals (aka LLM-as-a-judge) have quickly become a critical component of LLM evaluation. While far from a silver bullet, reliable model-graded evals can fill the gap between code evals and human review allowing you to scale nuanced evals with “intelligence”.
When using evals in a product context, we generally find people want the freedom to customize their evals, even if they start with a template. It can be appealing at first to want turnkey “model-graded evals in a box,” but as teams mature they quickly realize the need to customize their model-graded evals, or to create new evals from scratch.
Our focus at Freeplay has been giving teams the tools to see exactly what their evals are doing, customize them when needed, and improve them over time.
Read more about why custom eval suites are important: Building an effective eval suite
While customization is critical, it can be tedious. Just as prompt engineering takes a lot of iteration, model-graded eval development can take a lot of time too. That’s why we’ve made it easy to set up a repeatable process for eval iteration and optimization. In this post we will look at how to first create model-graded evals, then align them with your team’s perspective on what the right answers are, so that they mimic human preferences as closely as possible.
An overview of Evals in Freeplay
There are 3 types of evals in Freeplay: Model-graded evals, Human labeling, and Code evals.
Model-graded evals and Human labeling are defined and managed in the Freeplay app as part of a given prompt. Today, code evals are written, managed, and executed separately in your code and then recorded to Freeplay via the SDK or our API.
Model-graded evals are executed in two scenarios:
- Live Monitoring
Freeplay will sample a subset of your production traffic and automatically run your model-graded evals for you (aka “auto-evals”). Given that these have an LLM running under the hood, costs can add up, so they are not run on all your production traffic by default.
- Test Runs
When executing batch tests or comparisons in Freeplay, your model-graded evals will be run 100% of the time for each example in the dataset. The expectation here is that the whole point of your testing is to quantify results, and auto-evals are key to doing this.
Now let’s look at the process of creating and aligning model-graded evals with Freeplay.
Create and Align Model-Graded Evals in Freeplay
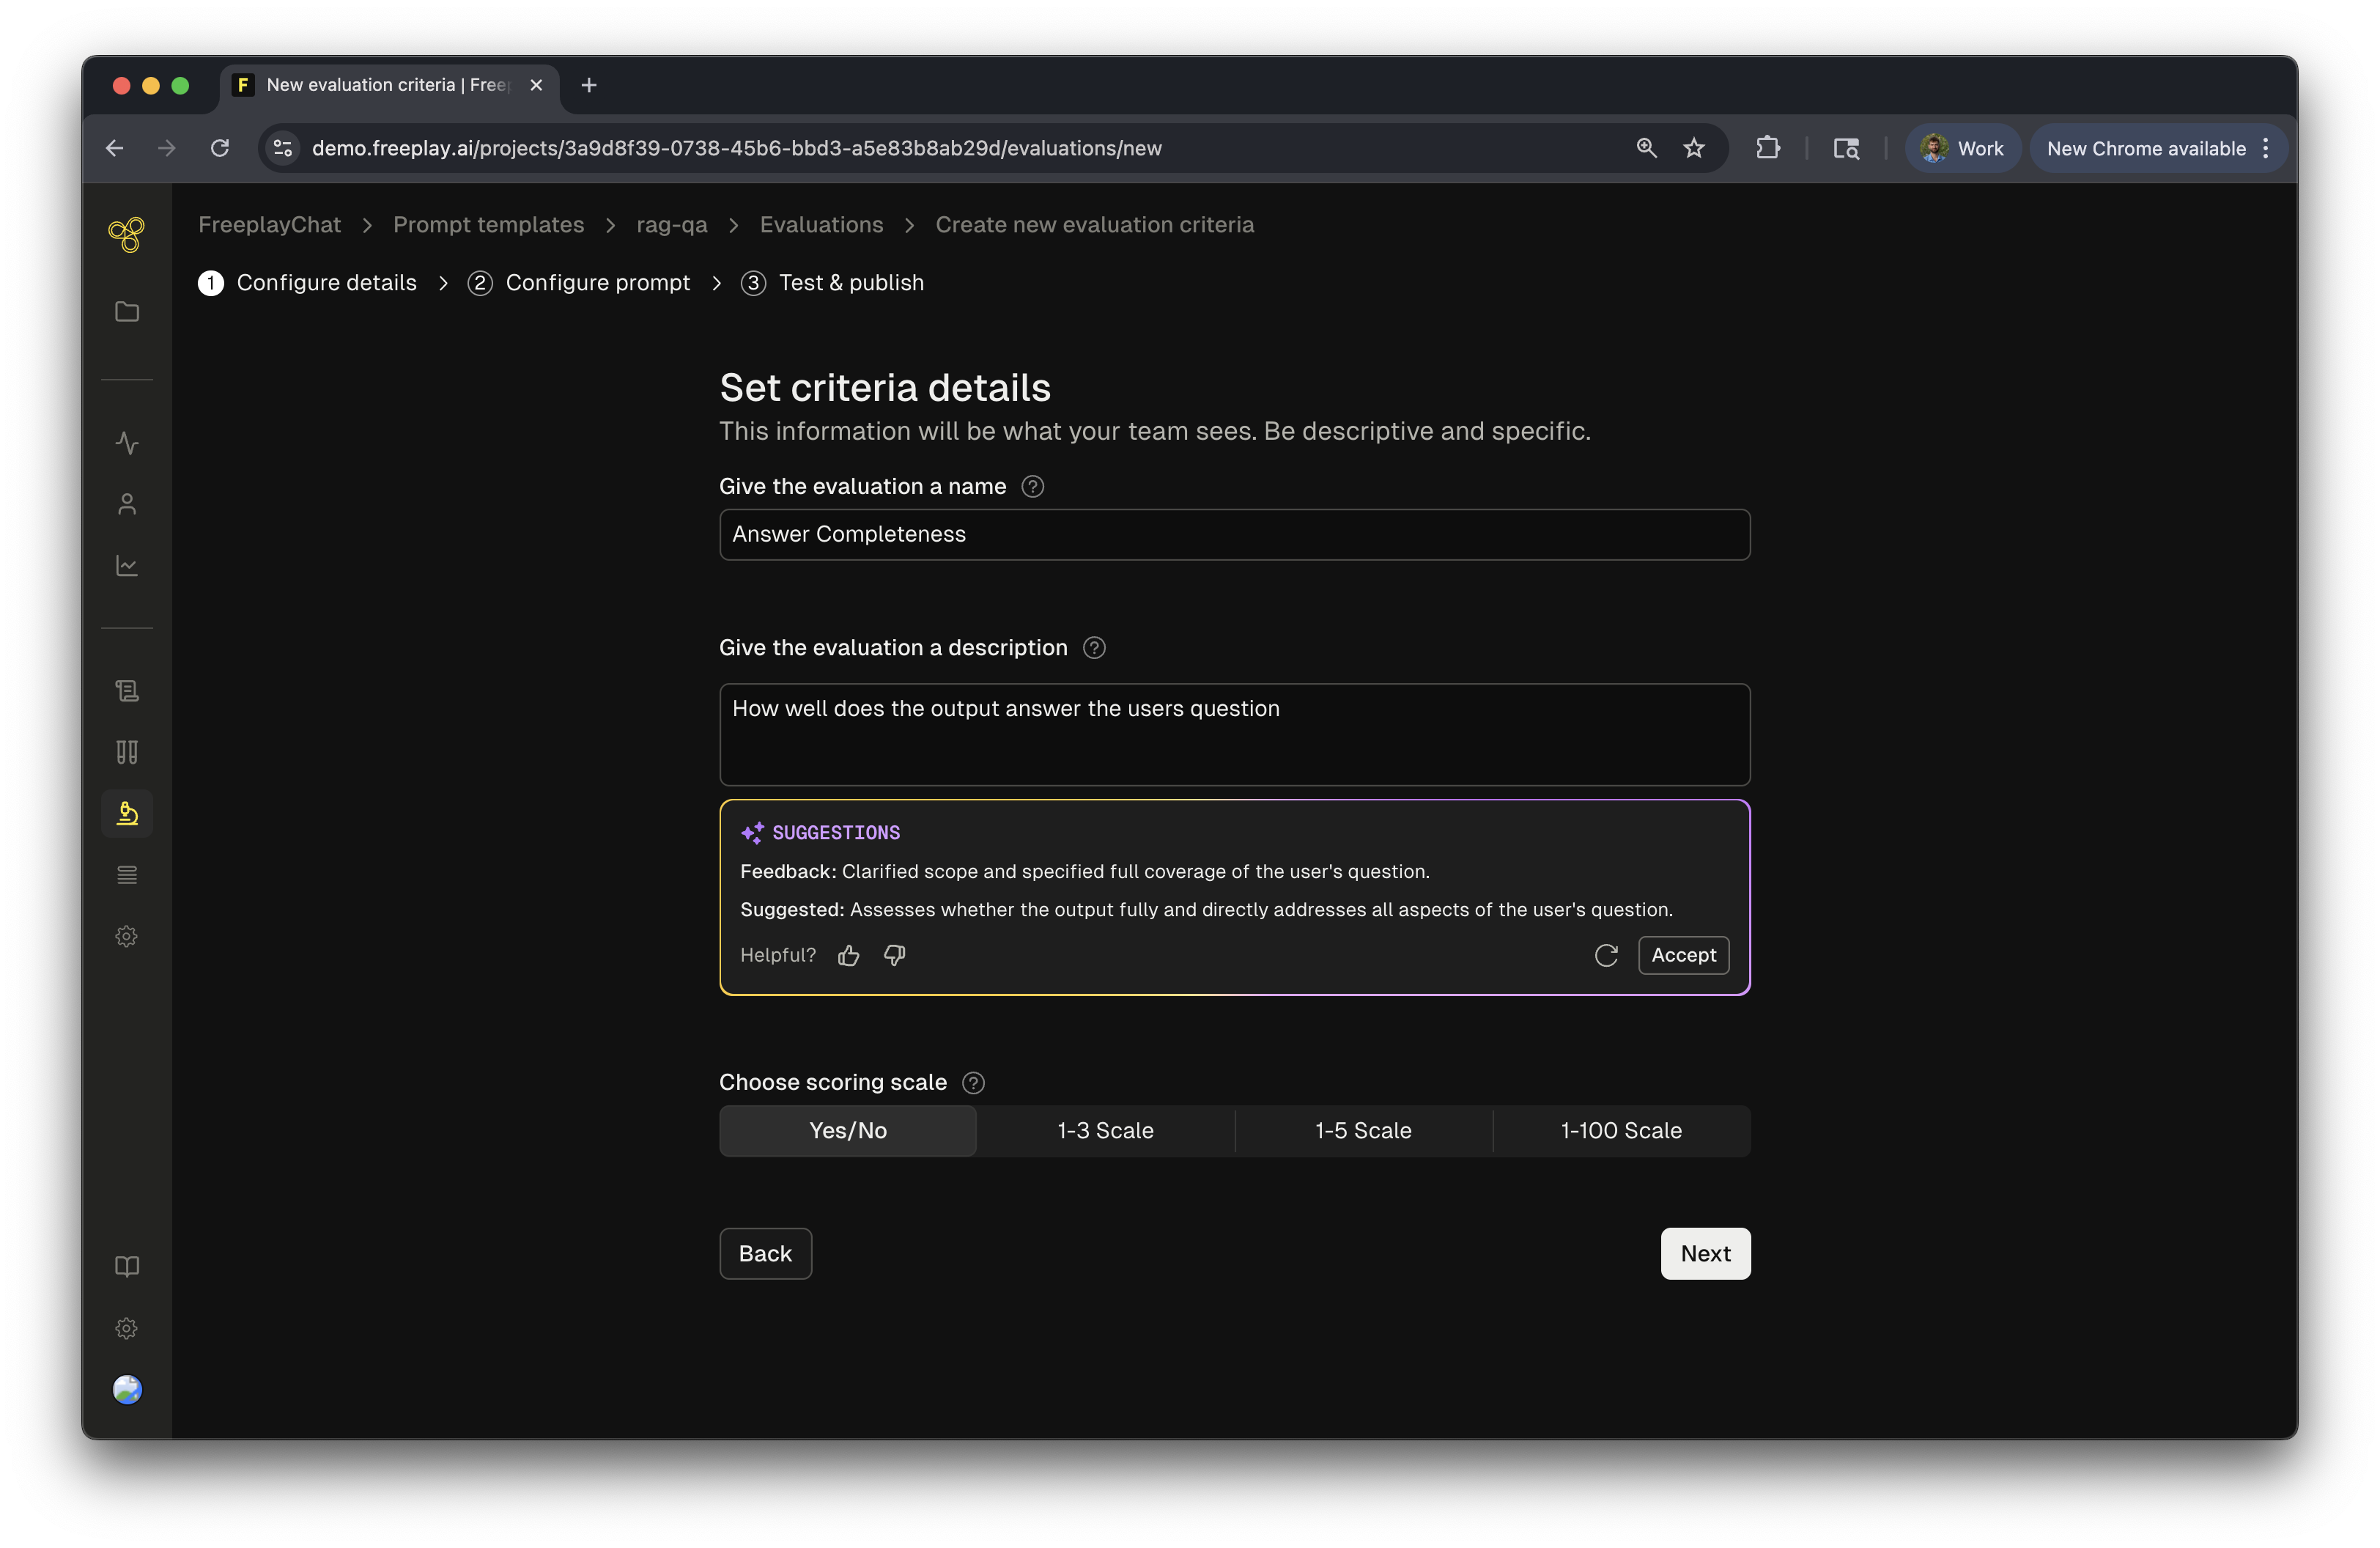
In this guide, we will cover the process of creating a new model-graded eval. Once you create your eval you can continue to iterate on it over time, he process of iterating on and improving alignment for an existing model-graded eval is the same.
Step 1: Create a new Model-graded Eval
First navigate to the prompt from which you want to create an eval, and click “New evaluation”.
You’ll then be prompted to choose between a Human labeling criteria and a Model-graded eval. In this case we will select “Model graded”.

In the next section you will give your eval a name, define the eval scale, and give the eval a description. Note, the name and description in this section are purely for human consumption. None of this information is sent to the LLM. The prompt for the LLM will be defined in the next section.

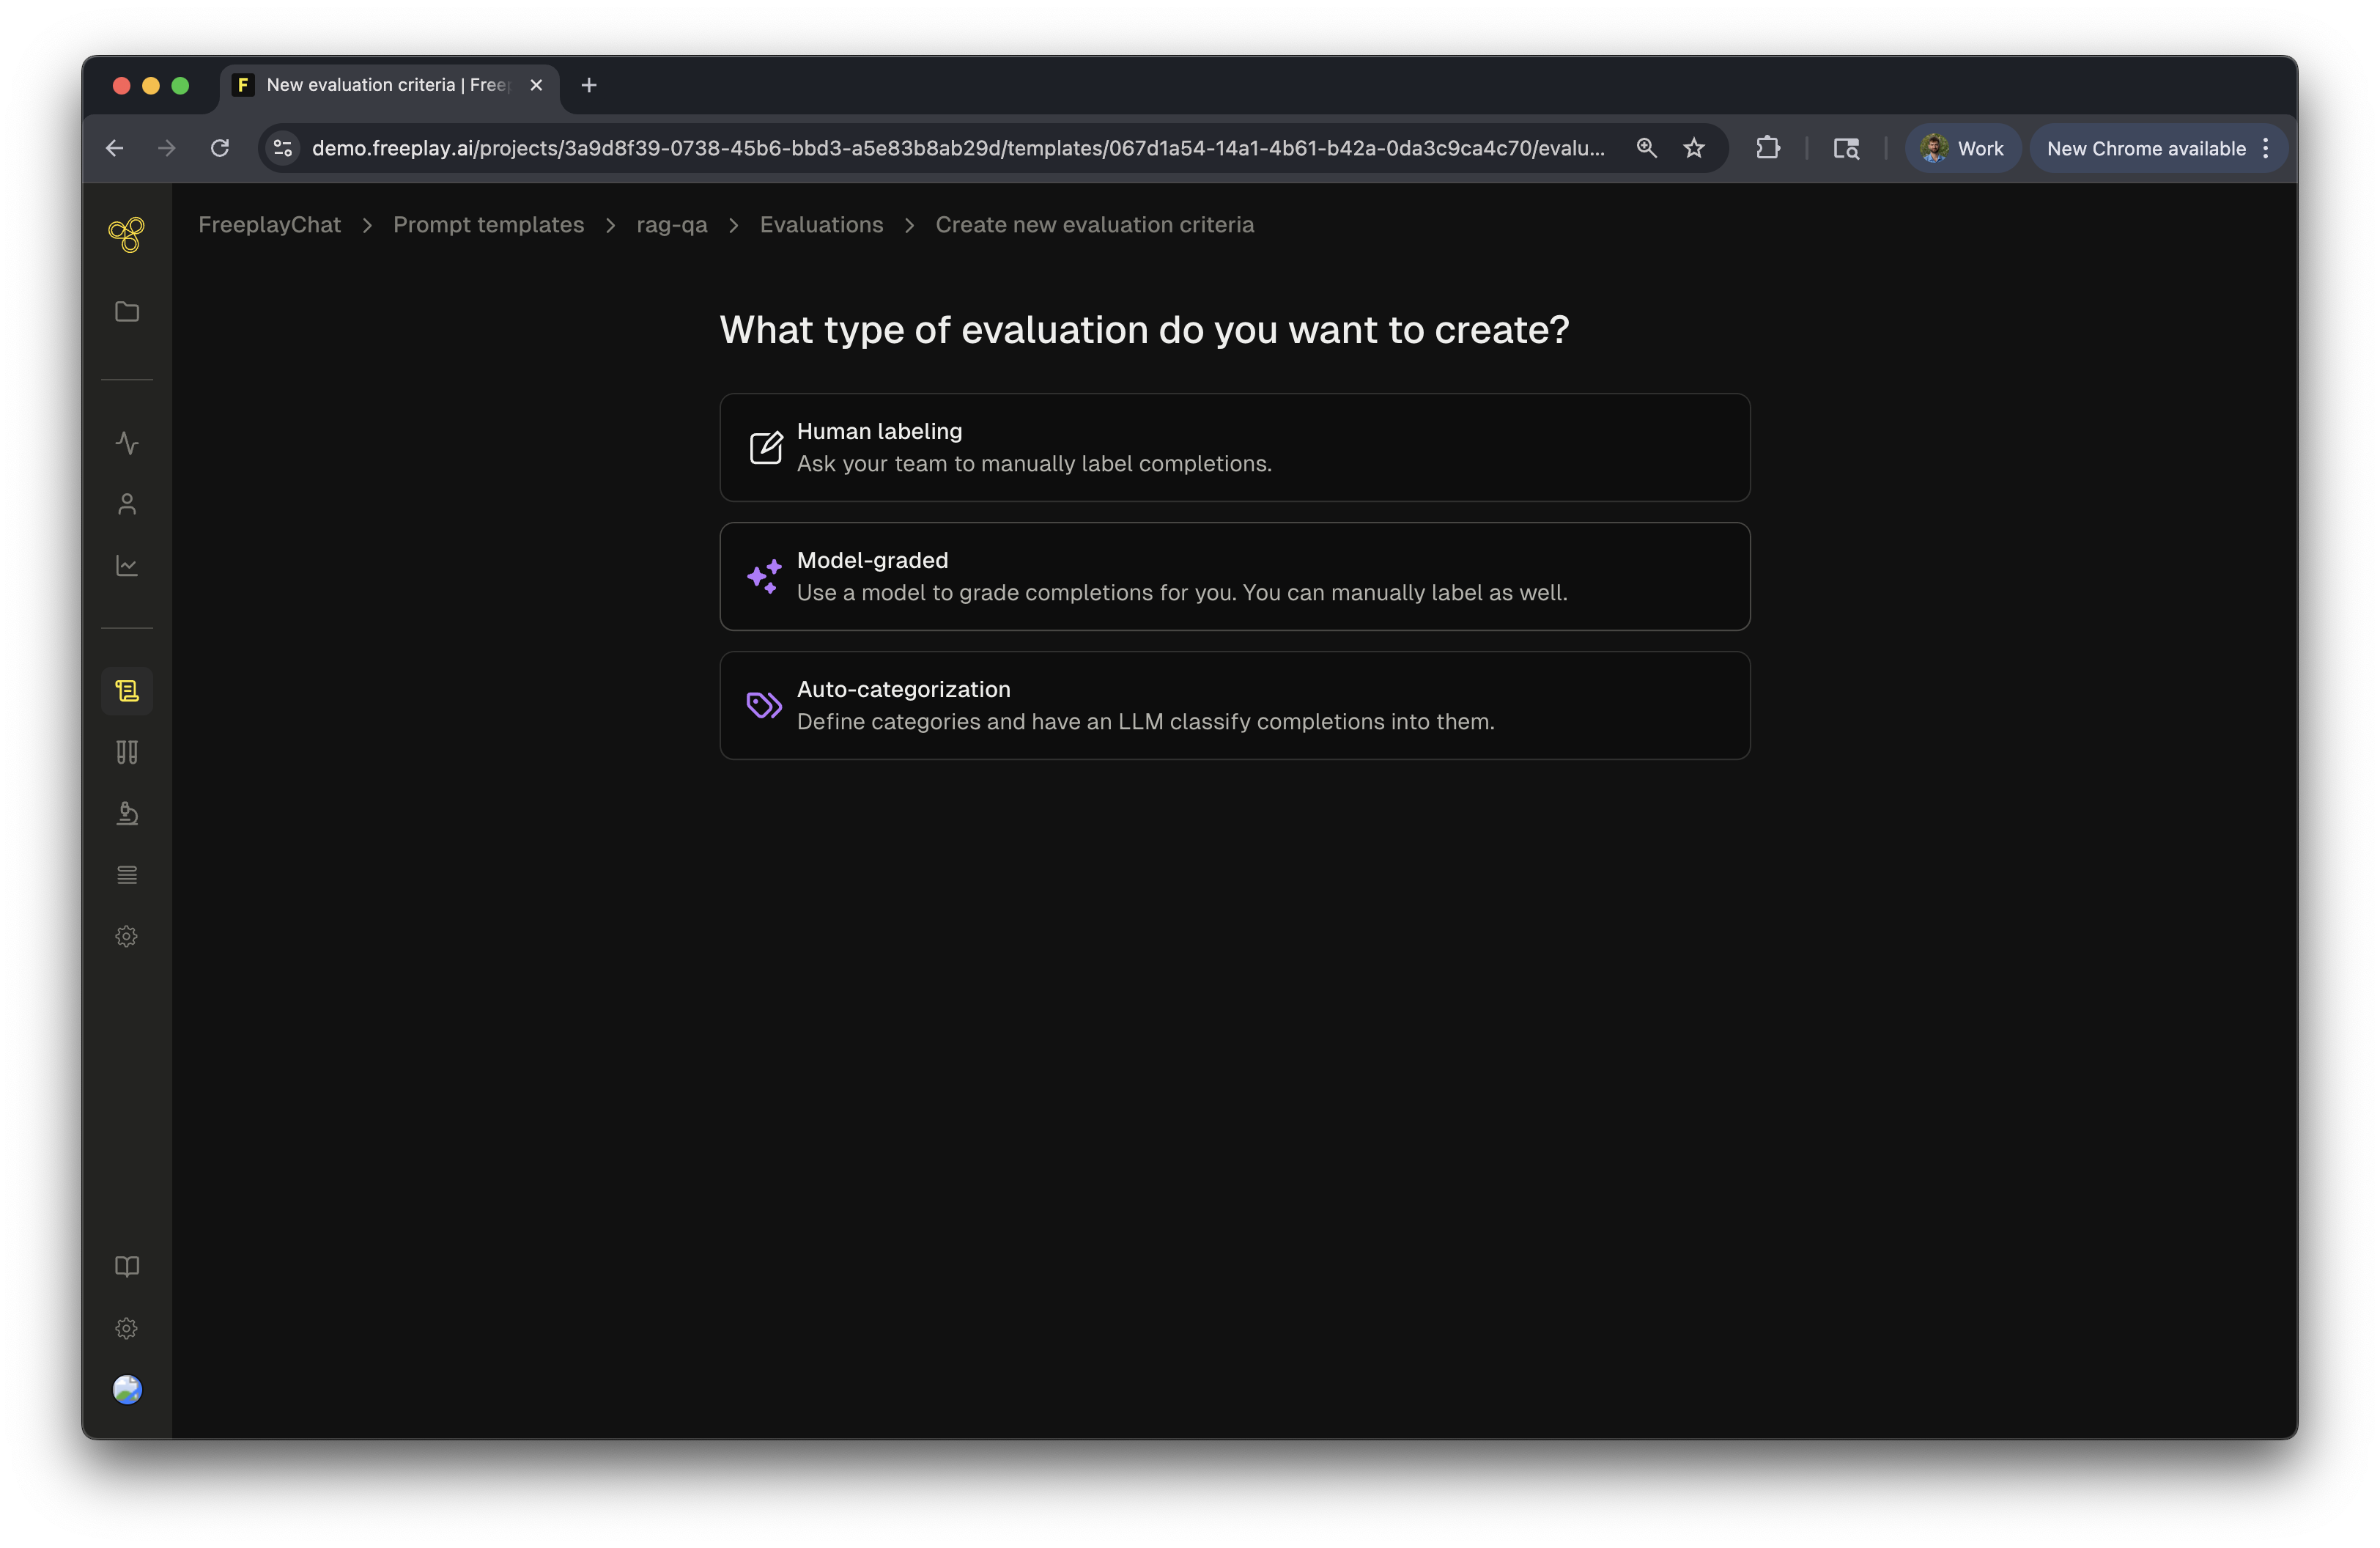
Step 2: Define your Model-graded Eval Prompt
Now you’ll define the prompt for your model-graded eval. These are the instructions the LLM will use to score each Completion it is run on.
First you will write the evaluation prompt. Since Freeplay manages your prompt templates as well, you can easily target specific components of the underlying prompt metadata by using Mustache syntax. When running an eval for a given prompt template:
- Input variables for the Prompt template are referenced via the
{{inputs.}}
prefix - The output is referenced via
{{output}}
- If you’re using chat history, you can reference the history via
{{history}}
- You can optionally do pairwise comparisons, which are useful when using ground truth datasets. Access the ground truth dataset output via
{{dataset.output}}
This variable value is important because often times the evaluator only needs certain aspects of the target prompt. Instead of sending the entire prompt to the evaluator, you can send specific inputs that let you create nuanced evals like the following (simplified) examples:
- Context Relevance: Is the retrieved context from
{{inputs.context}}
relevant to the original user query from{{inputs.question}}
? - Answer Similarity: Is the new version of the prompt output from
{{output}}
similar to the ground truth value from{{dataset.output}}
? - Entailment: Does the answer from the prompt output
{{output}}
logically entail from the provided context{{inputs.context}}
and the prior chat history{{history}}
?
In the screenshot below we are grading Answer Completeness, so we are targeting the input question and the output. Note, we are excluding another variable (supporting information) because it is not strictly relevant for this criteria.

Once you’ve written the base evaluation prompt, you can also:
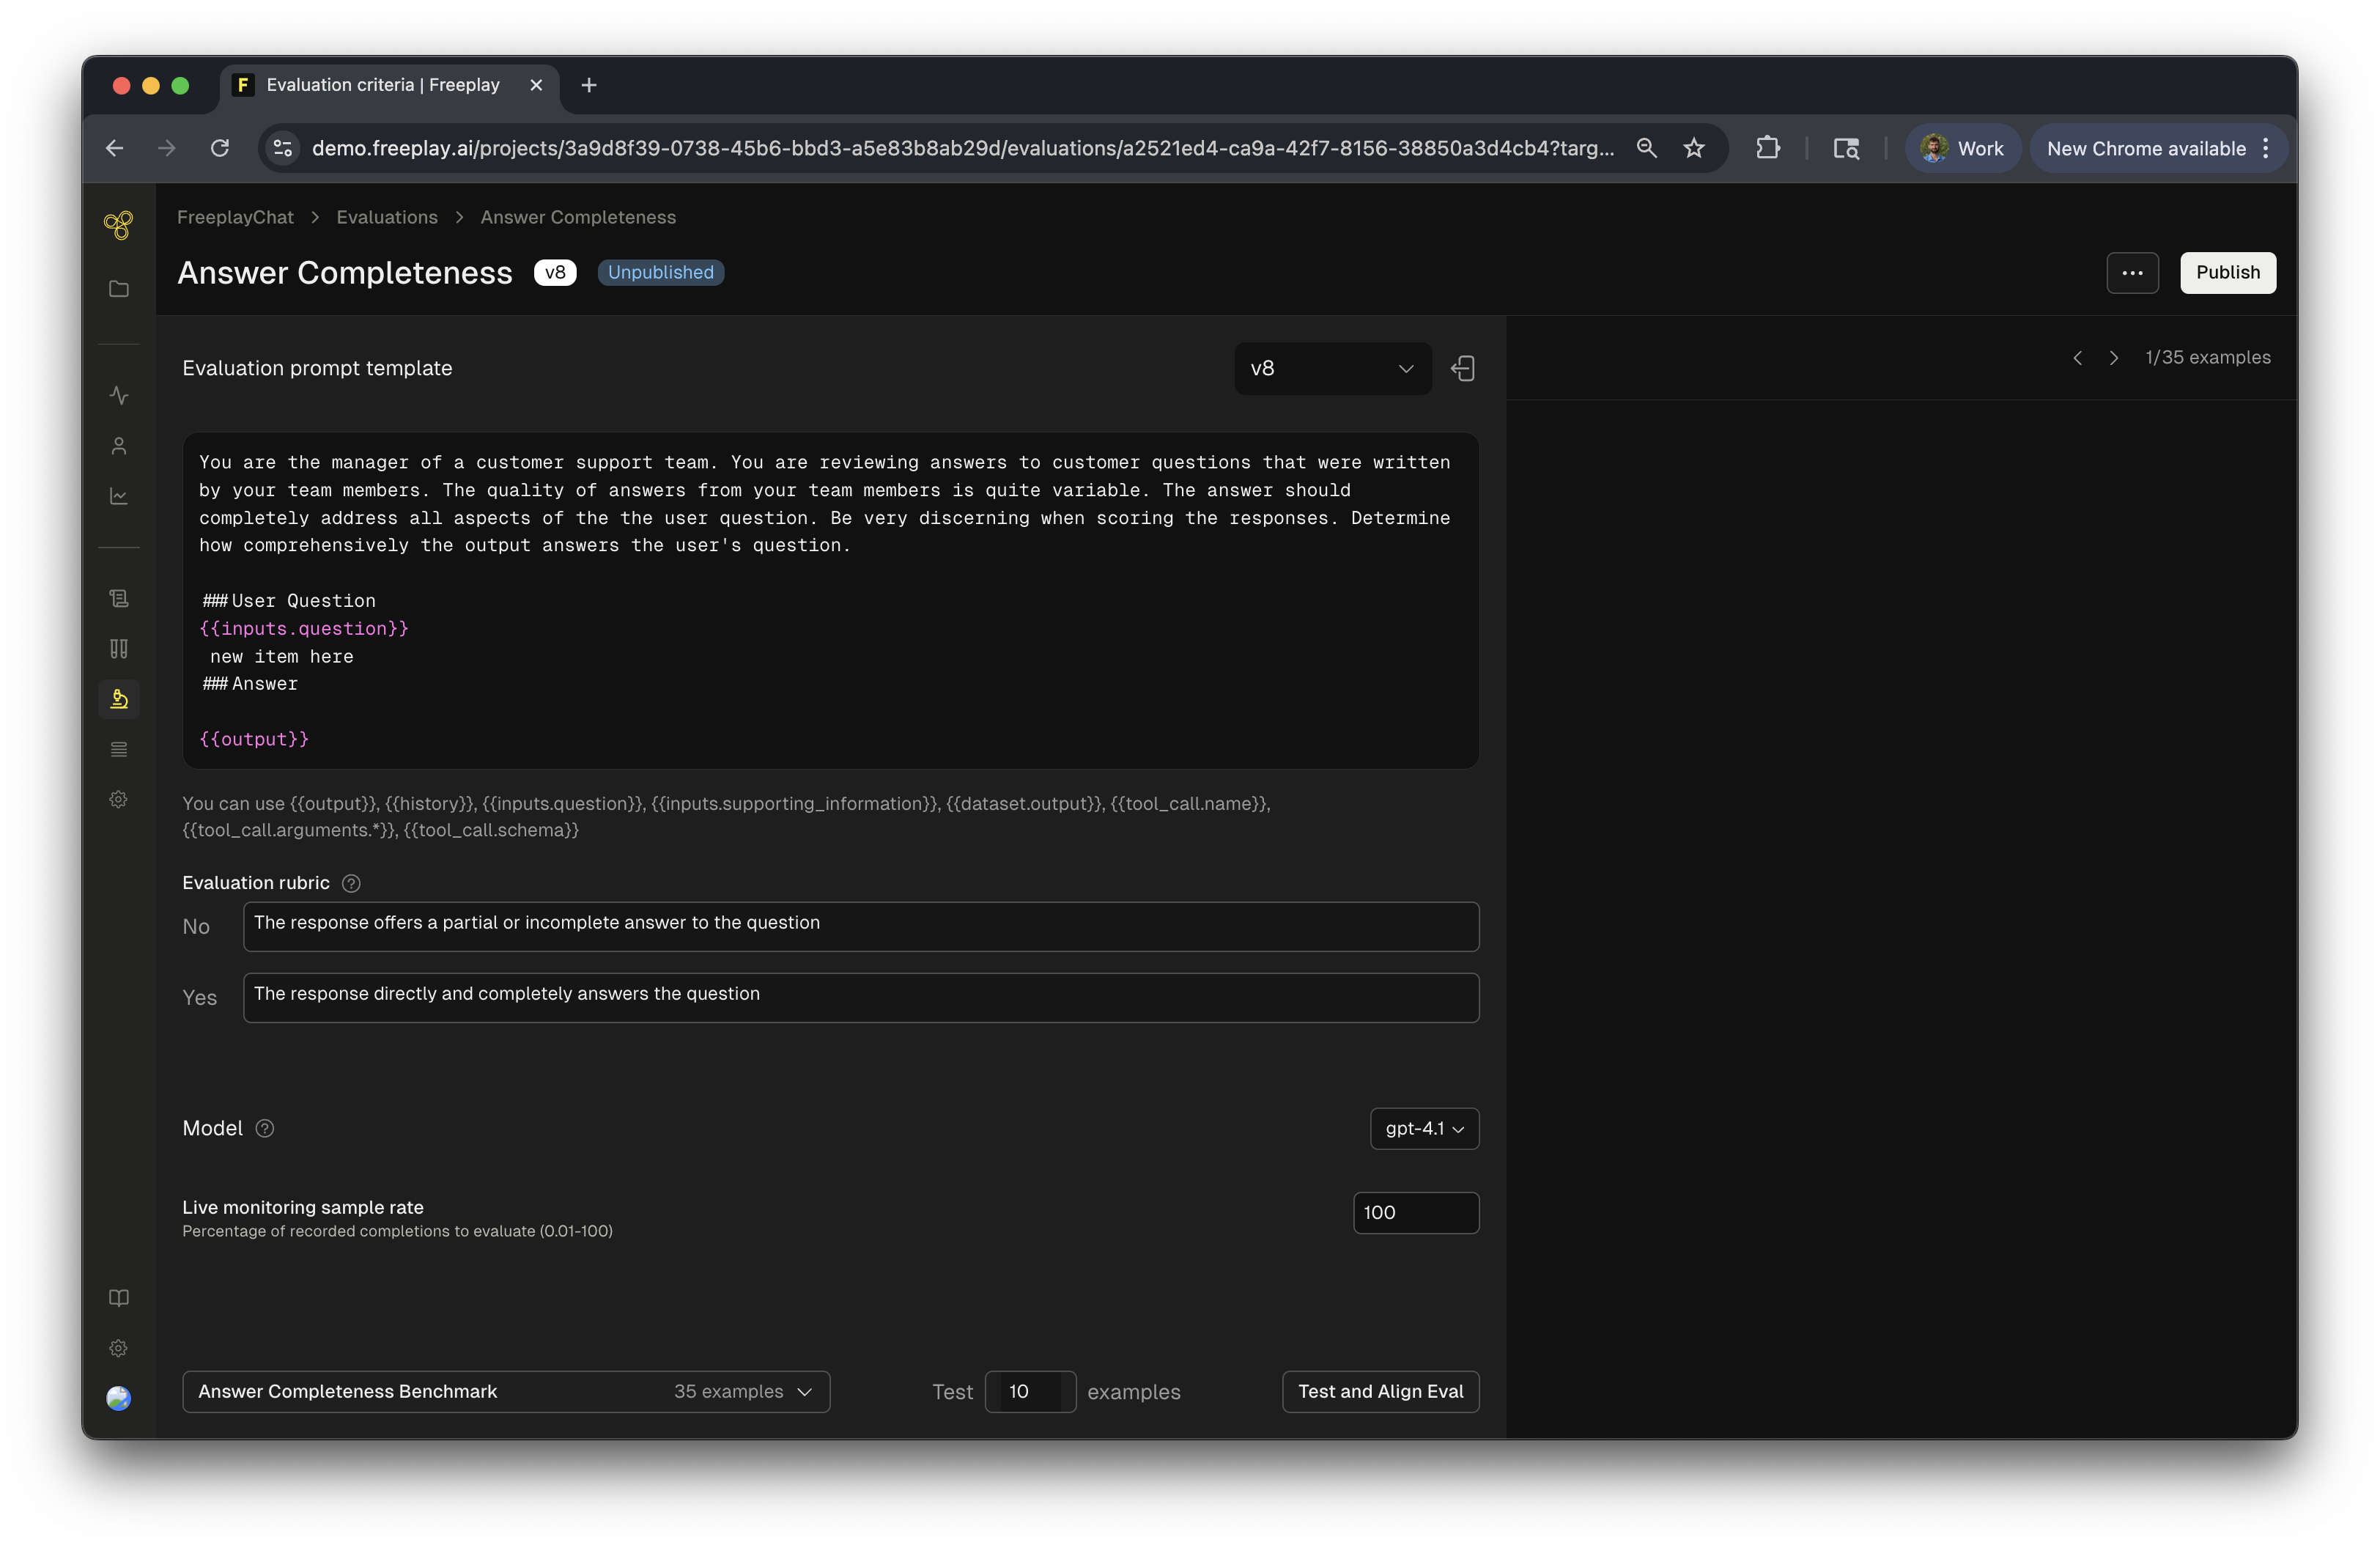
- Choose what model you want to use for the evaluator.
- (Optionally) Define an “Evaluation rubric” so that the LLM evaluator knows exactly what each scoring label means.
- Toggle the “Enable Live Monitoring” feature on or off for the given criteria. If it’s off, your eval will only run on Test scenarios.
Once you’re done with this initial draft, you can hit “Save template” in the right hand corner and then move on to testing it with a dataset.
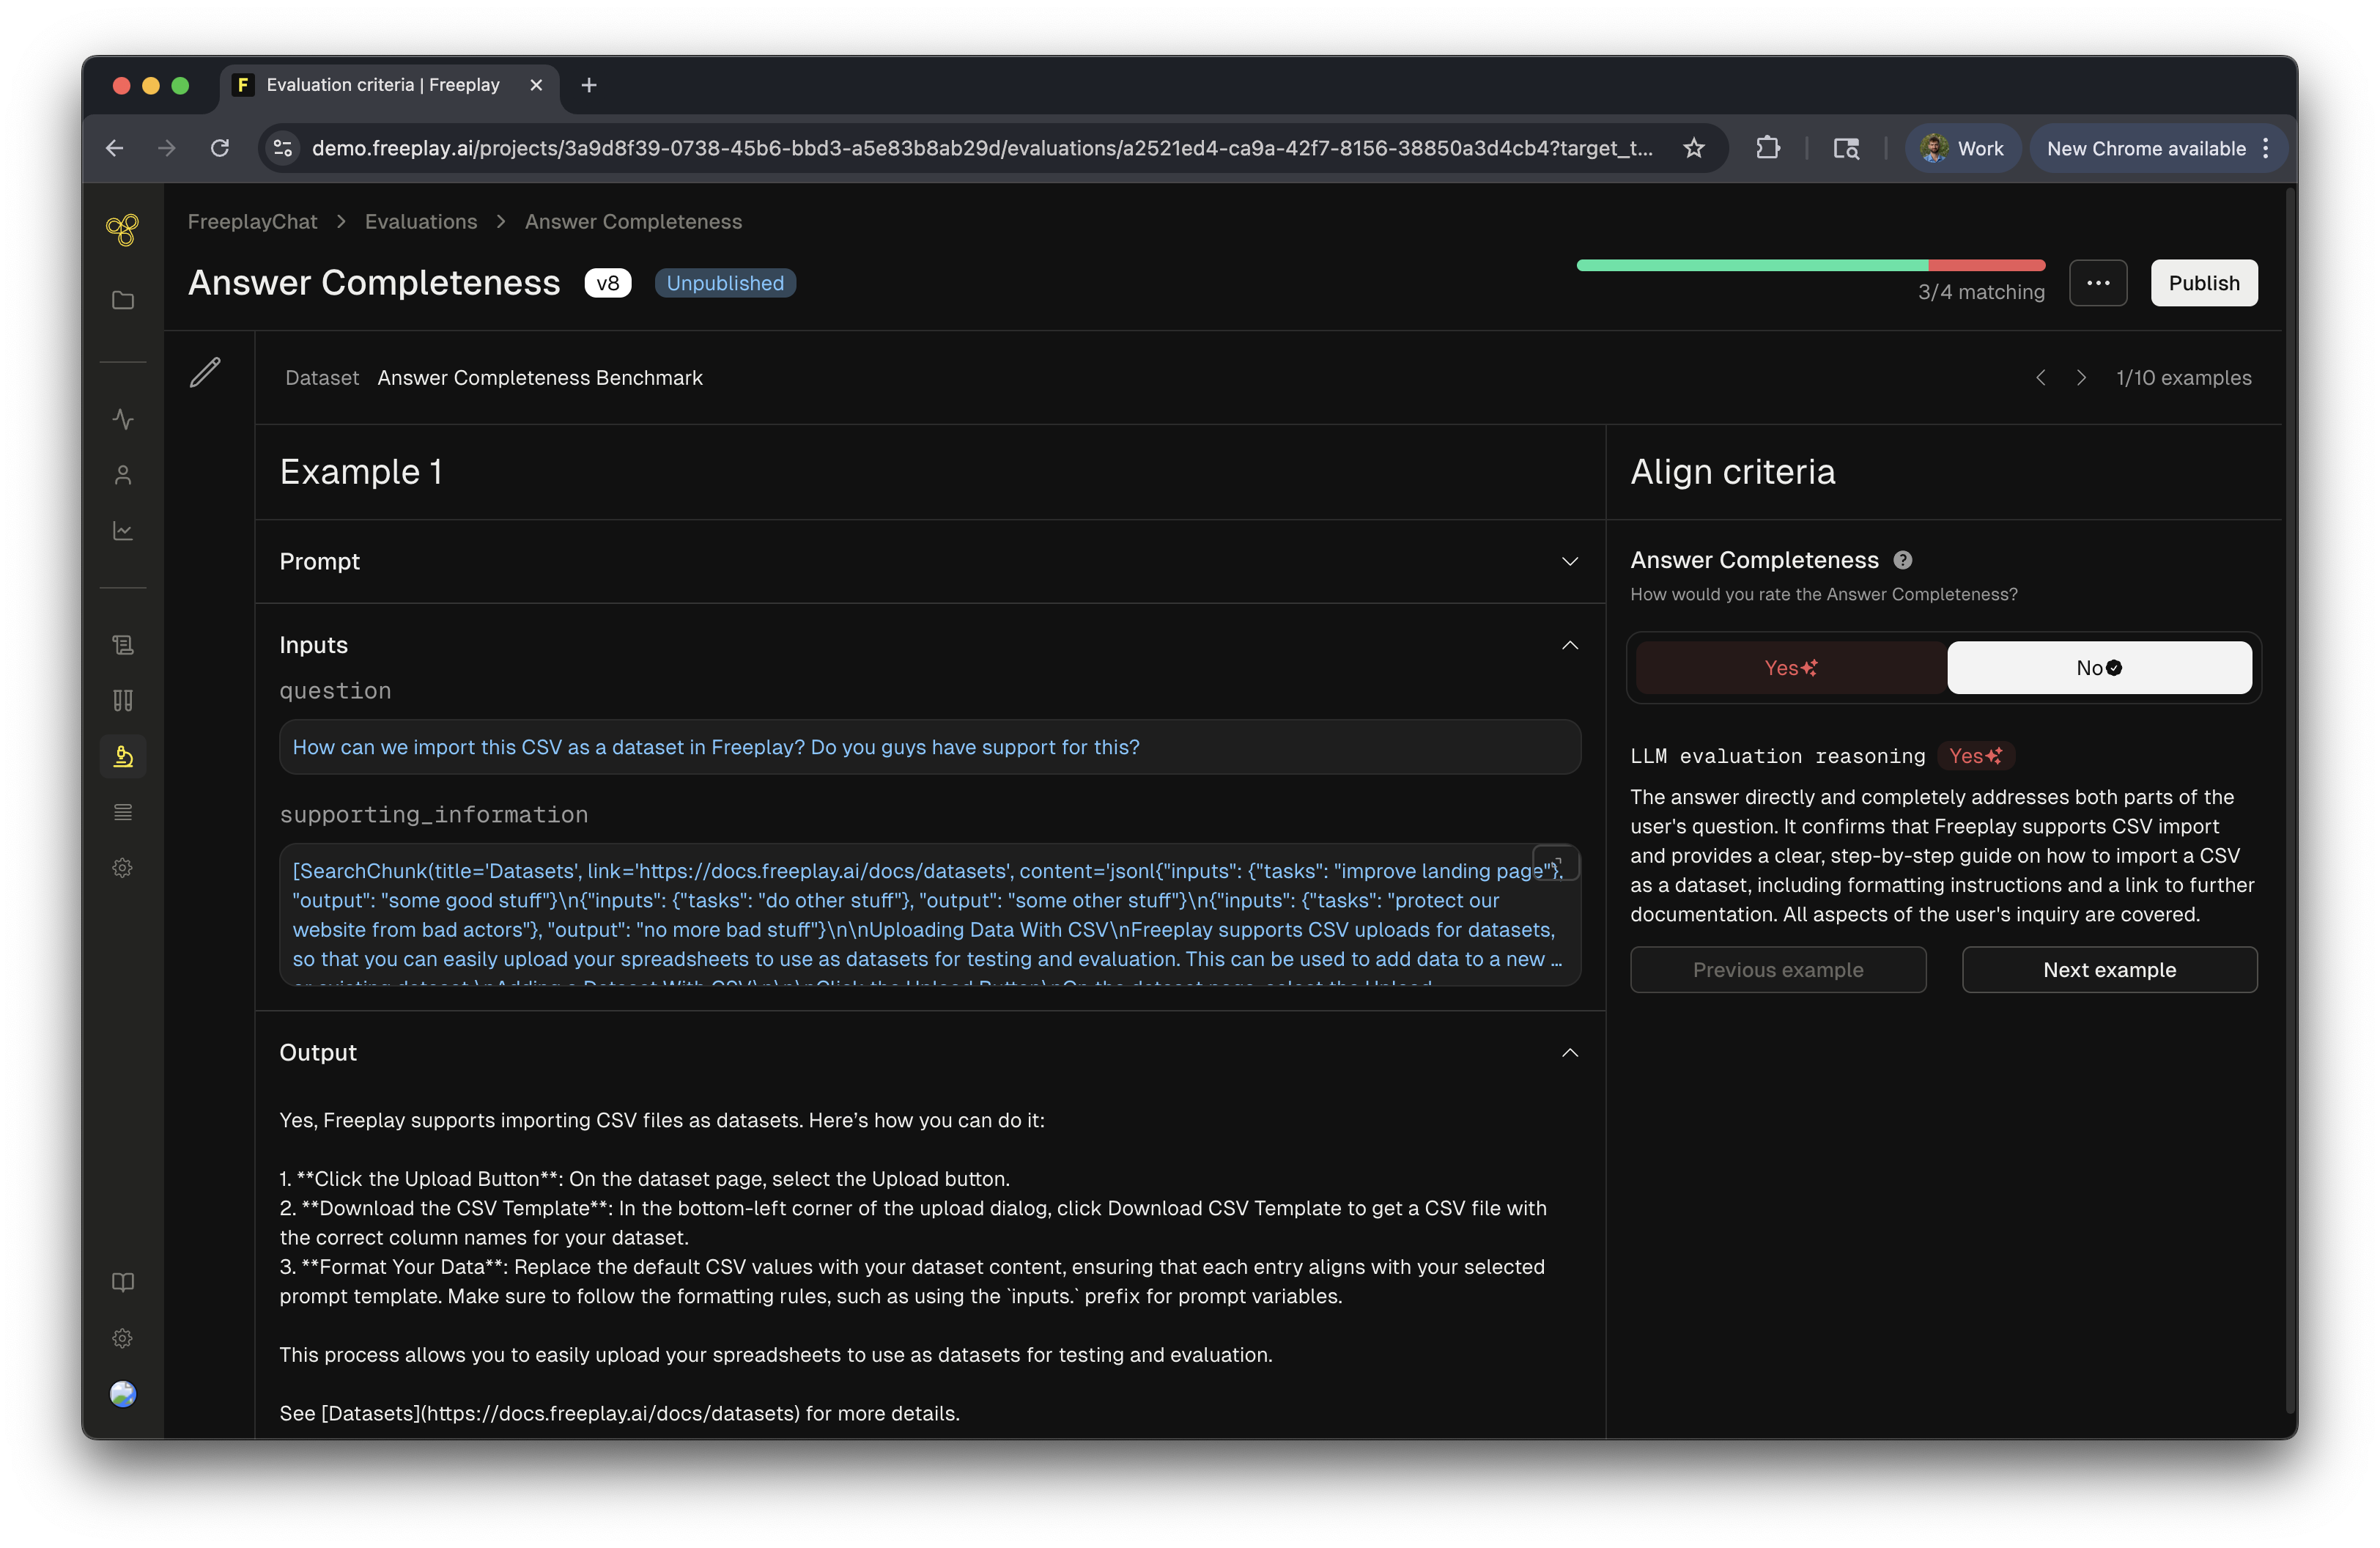
Step 3: Select a dataset to test your evaluator
We will now move to testing your new evaluator and we will need a dataset to test with. The default option will use your benchmark dataset for that eval criteria.
Note: Benchmark datasets are automatically built as you label examples. Examples will be sampled from your production logs to seed the dataset. Then as you human label data, those examples will be added to this criteria-specific benchmark dataset building it up over time.
Alternatively, you can select any other pre-existing dataset that is compatible with your underlying prompt.

Click “Start testing” in the top right to move to the next step.
Step 4: Label examples
We will now start labeling examples to determine how frequently your evaluator score aligns with your human preference. This is the crux of the alignment flow!

You will be prompted to score each example yourself. After you score an example the model-graded score will appear, as well as an explanation of the underlying reasoning.
We recommend labeling at least 10 examples but there is no minimum amount you need to label before deploying a model-graded eval.
Step 5: Deploy your model-graded eval
Once you label however many examples you want you can deploy your eval criteria by hitting deploy in the top right.

Alternatively if your alignment score is lower than you’d hope for, you can iterate on your evaluator prompt and run more alignment sessions.
Step 6: Iterate!
Alignment is meant to be an ongoing process. As you review more data and discover more edge cases you’ll likely want to update and improve your evaluator. You can come back at any time and continue iterating on your evaluator prompt making sure it is continually aligned with your human judgement.
Key Takeaways
Model-graded evals are most effective when they are highly tailored to your use case. But creating high-quality, customized evals takes some iteration. Freeplay aims to facilitate that process by giving you the tools to directly align your model-graded evals with your SME’s judgement.
Updated 5 months ago