Create Your Account
Start by signing up for Freeplay at app.freeplay.ai. Once you’ve created your account, you’ll land in your workspace where you can create projects, configure models, and manage your team.Generate Freeplay API Keys
Freeplay supports user scoped and project scoped API keys. User based keys are created at the account settings level and inherit all user permissions. Project scoped keys represent service accounts and are scoped to that project specifically.To create a User API key:
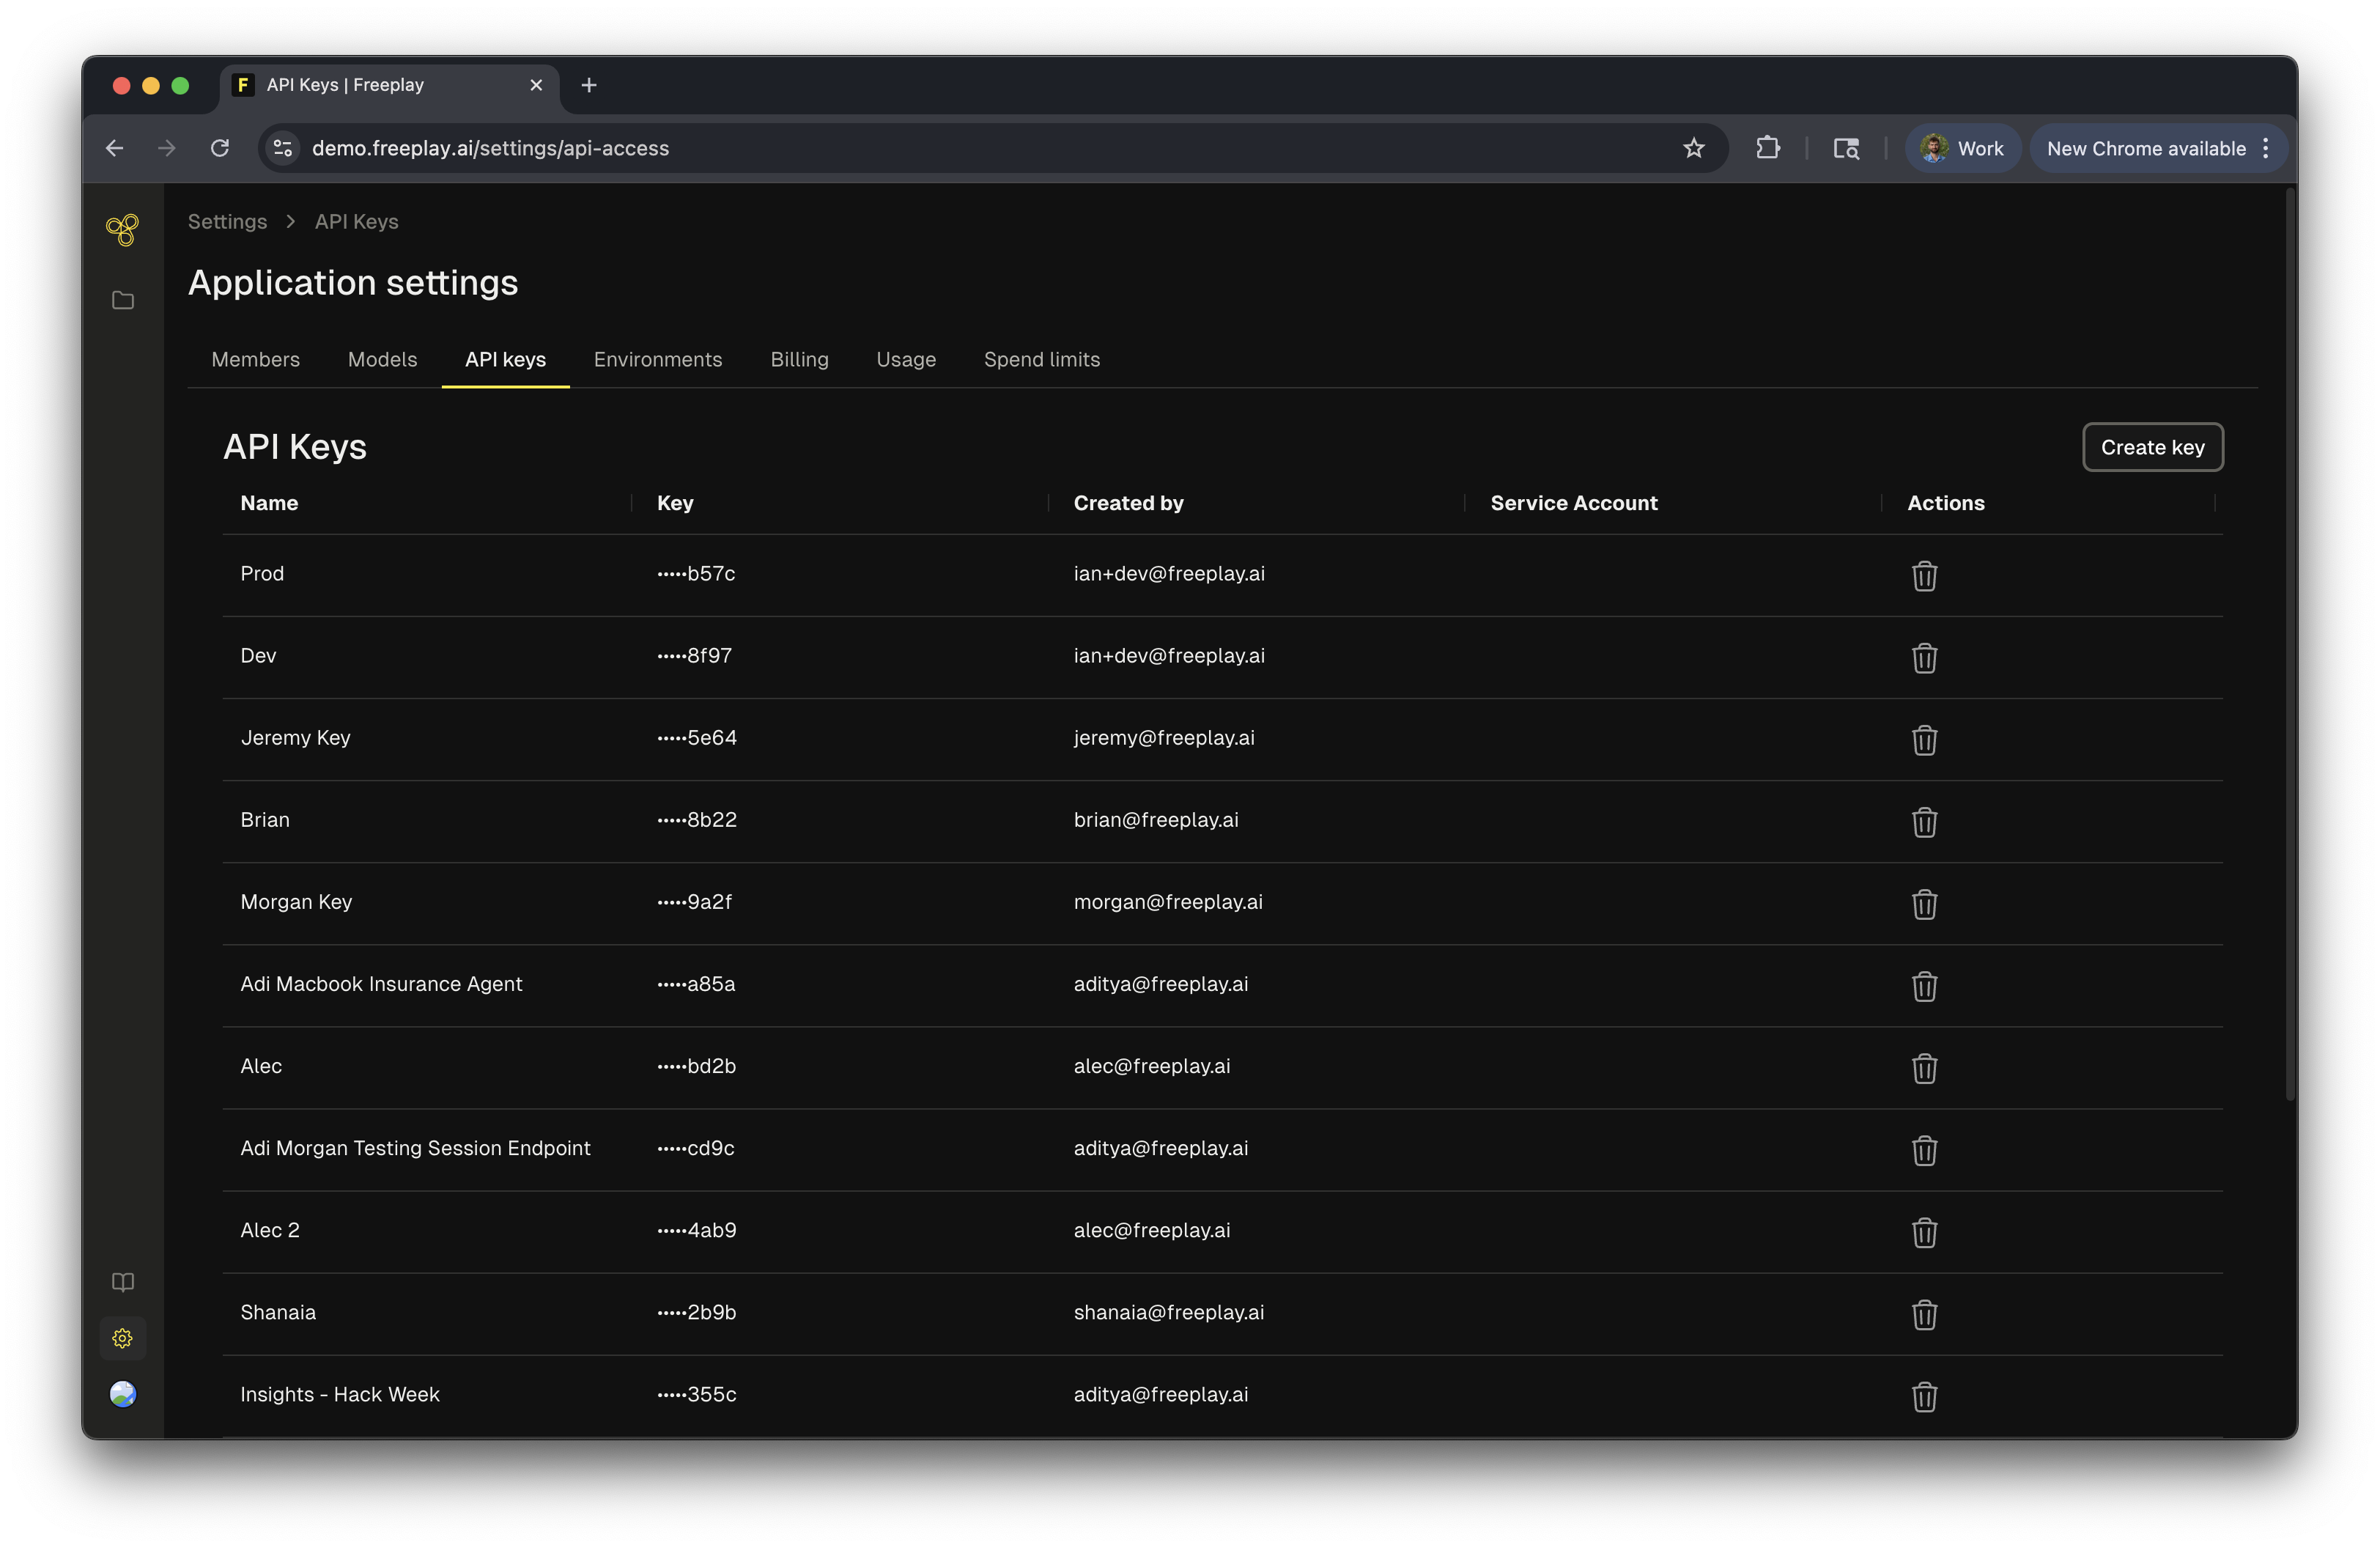
- Navigate to Settings > API Access in your Freeplay dashboard
- Click “Create API Key”
- Give your key a descriptive name (e.g., “Production” or “Development”)
- Click the copy button to copy your full API key
- Store it securely—you won’t be able to see it again
To Create a Project API Key

- Select “Service Accounts”
- Create a new service account, provide it a name
- Create an api key for this service account
Configure Models
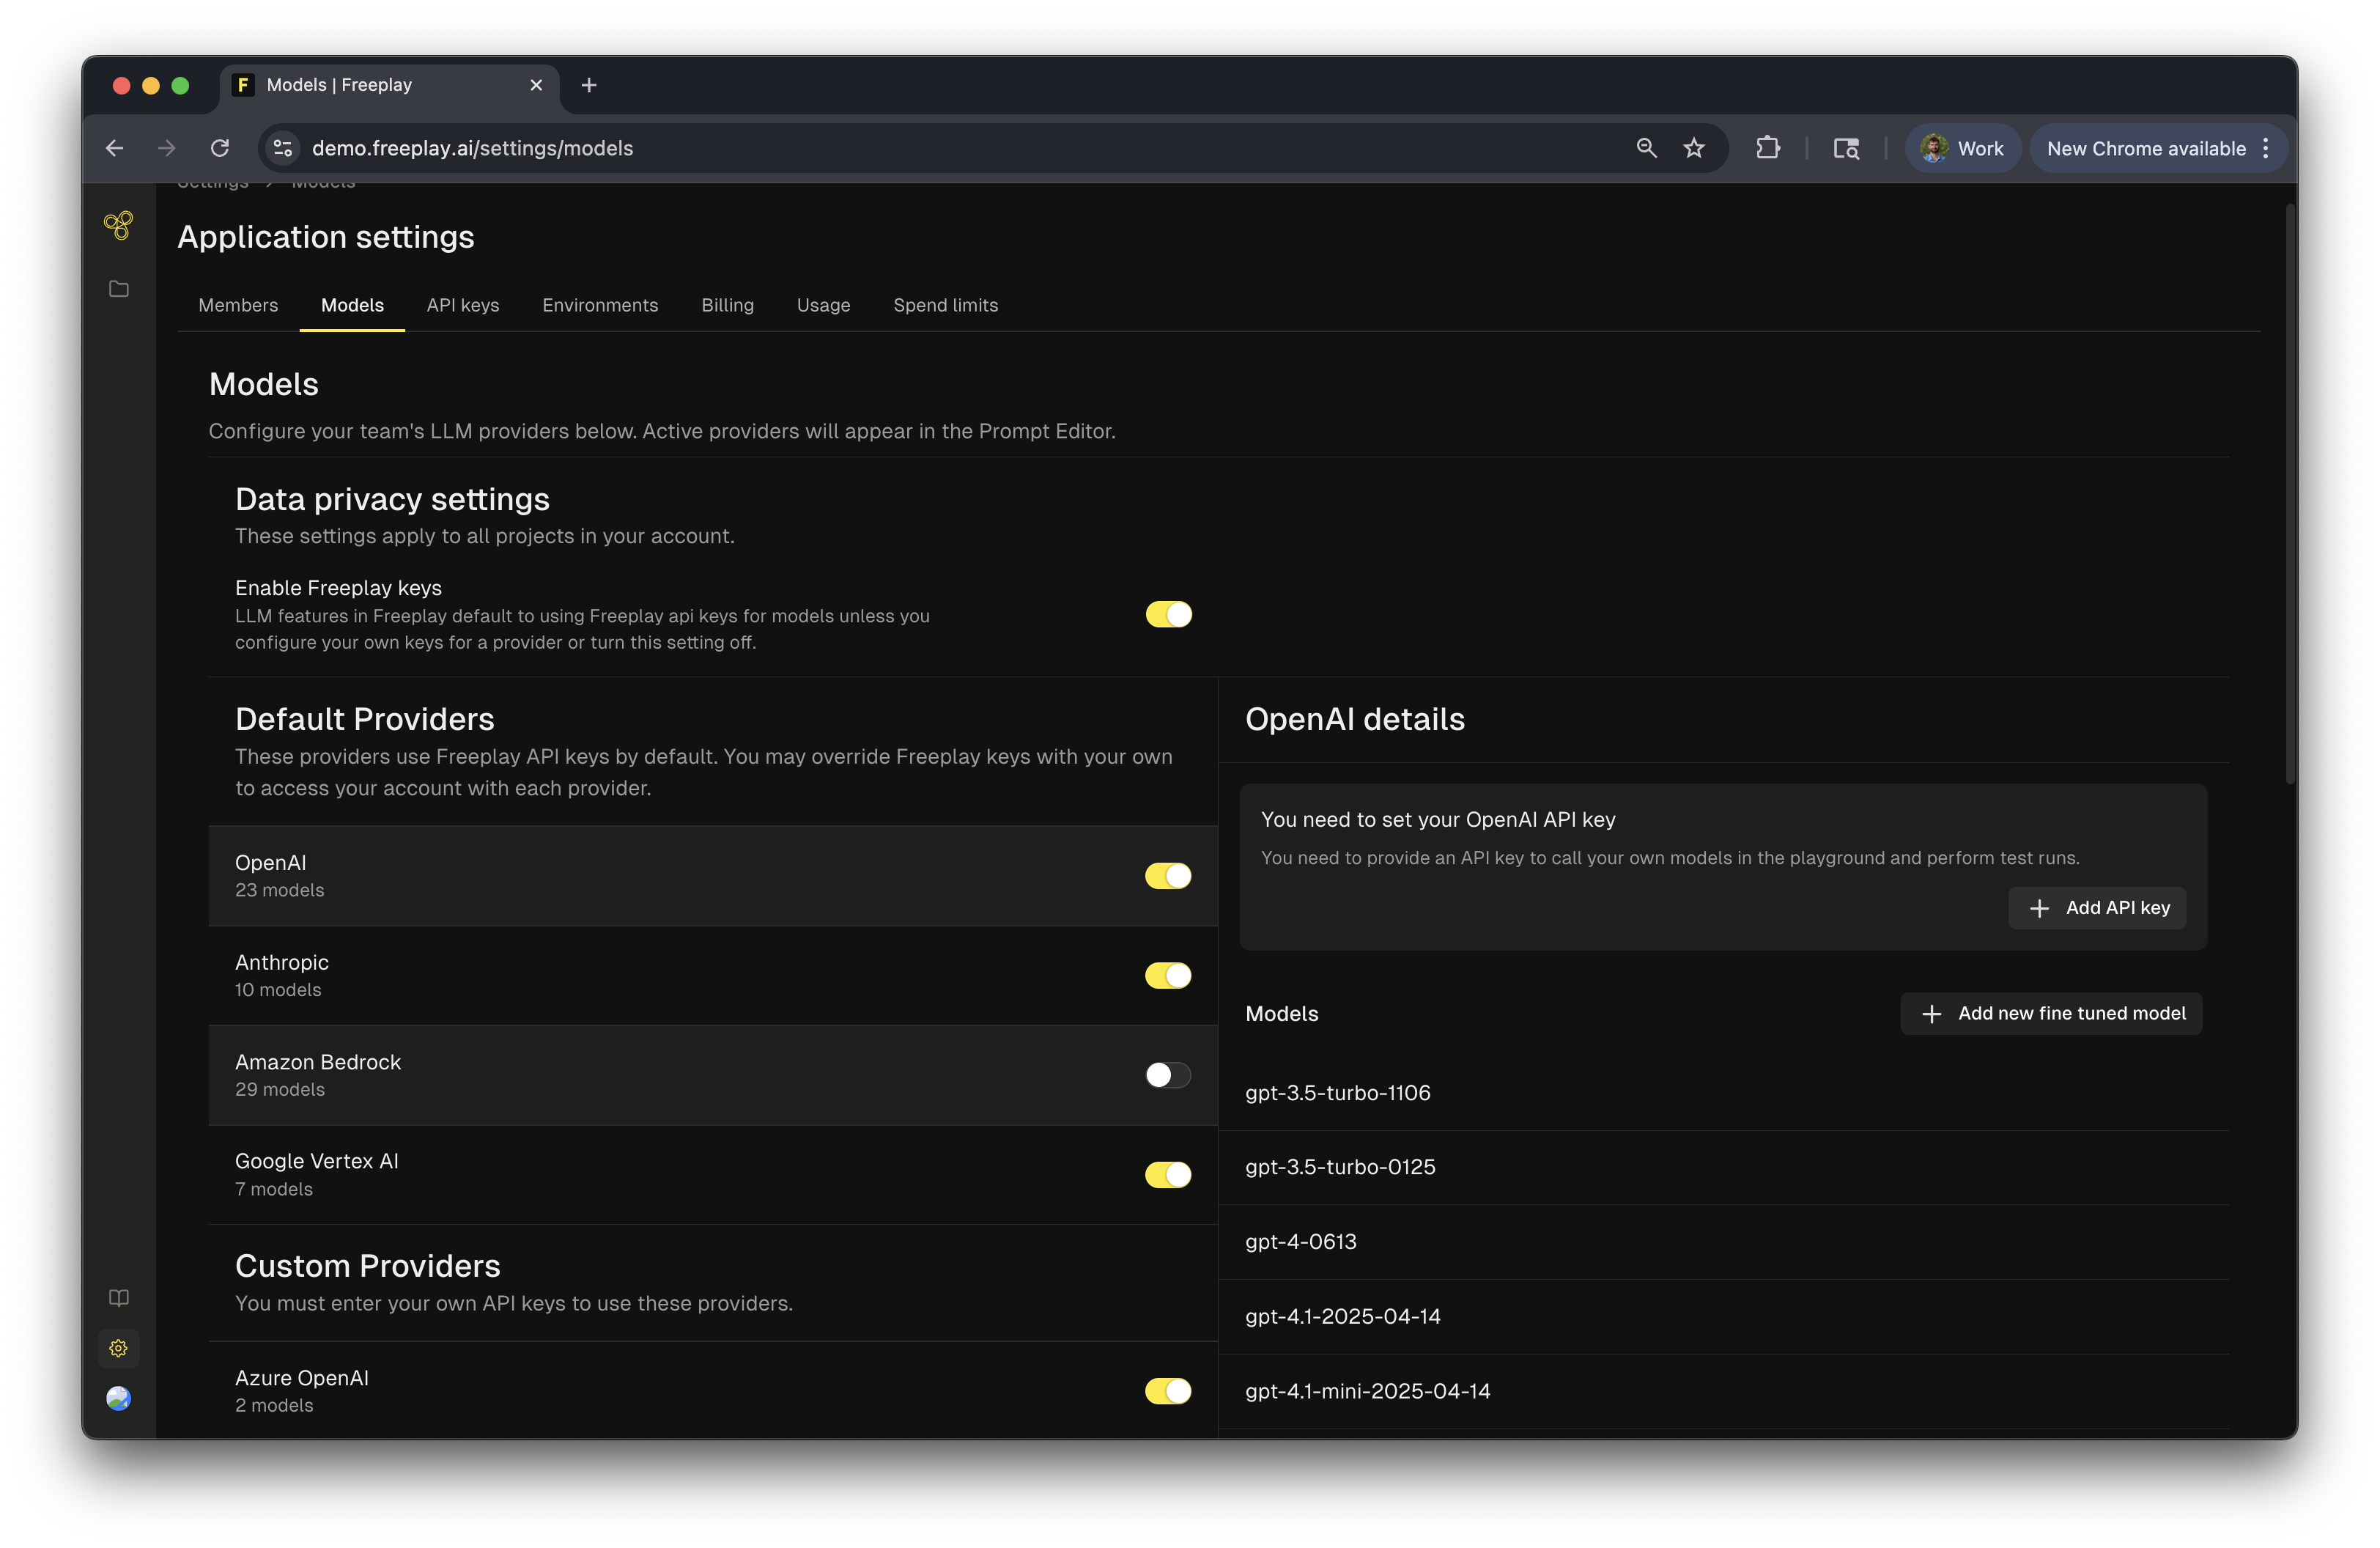
Basic setup:
Navigate to Settings > Models to see available providers and models. By default, you’ll see common providers like OpenAI, Anthropic, and others. If you’ve already added API keys for these providers, you’re ready to start building prompts.What you can configure:
- Enable or disable specific models and providers
- Add your LLM provider API keys for use in the playground and tests
- Configure custom endpoints (e.g., Azure OpenAI, fine-tuned models)
- Control which models your team can deploy to production
Set Up Environments
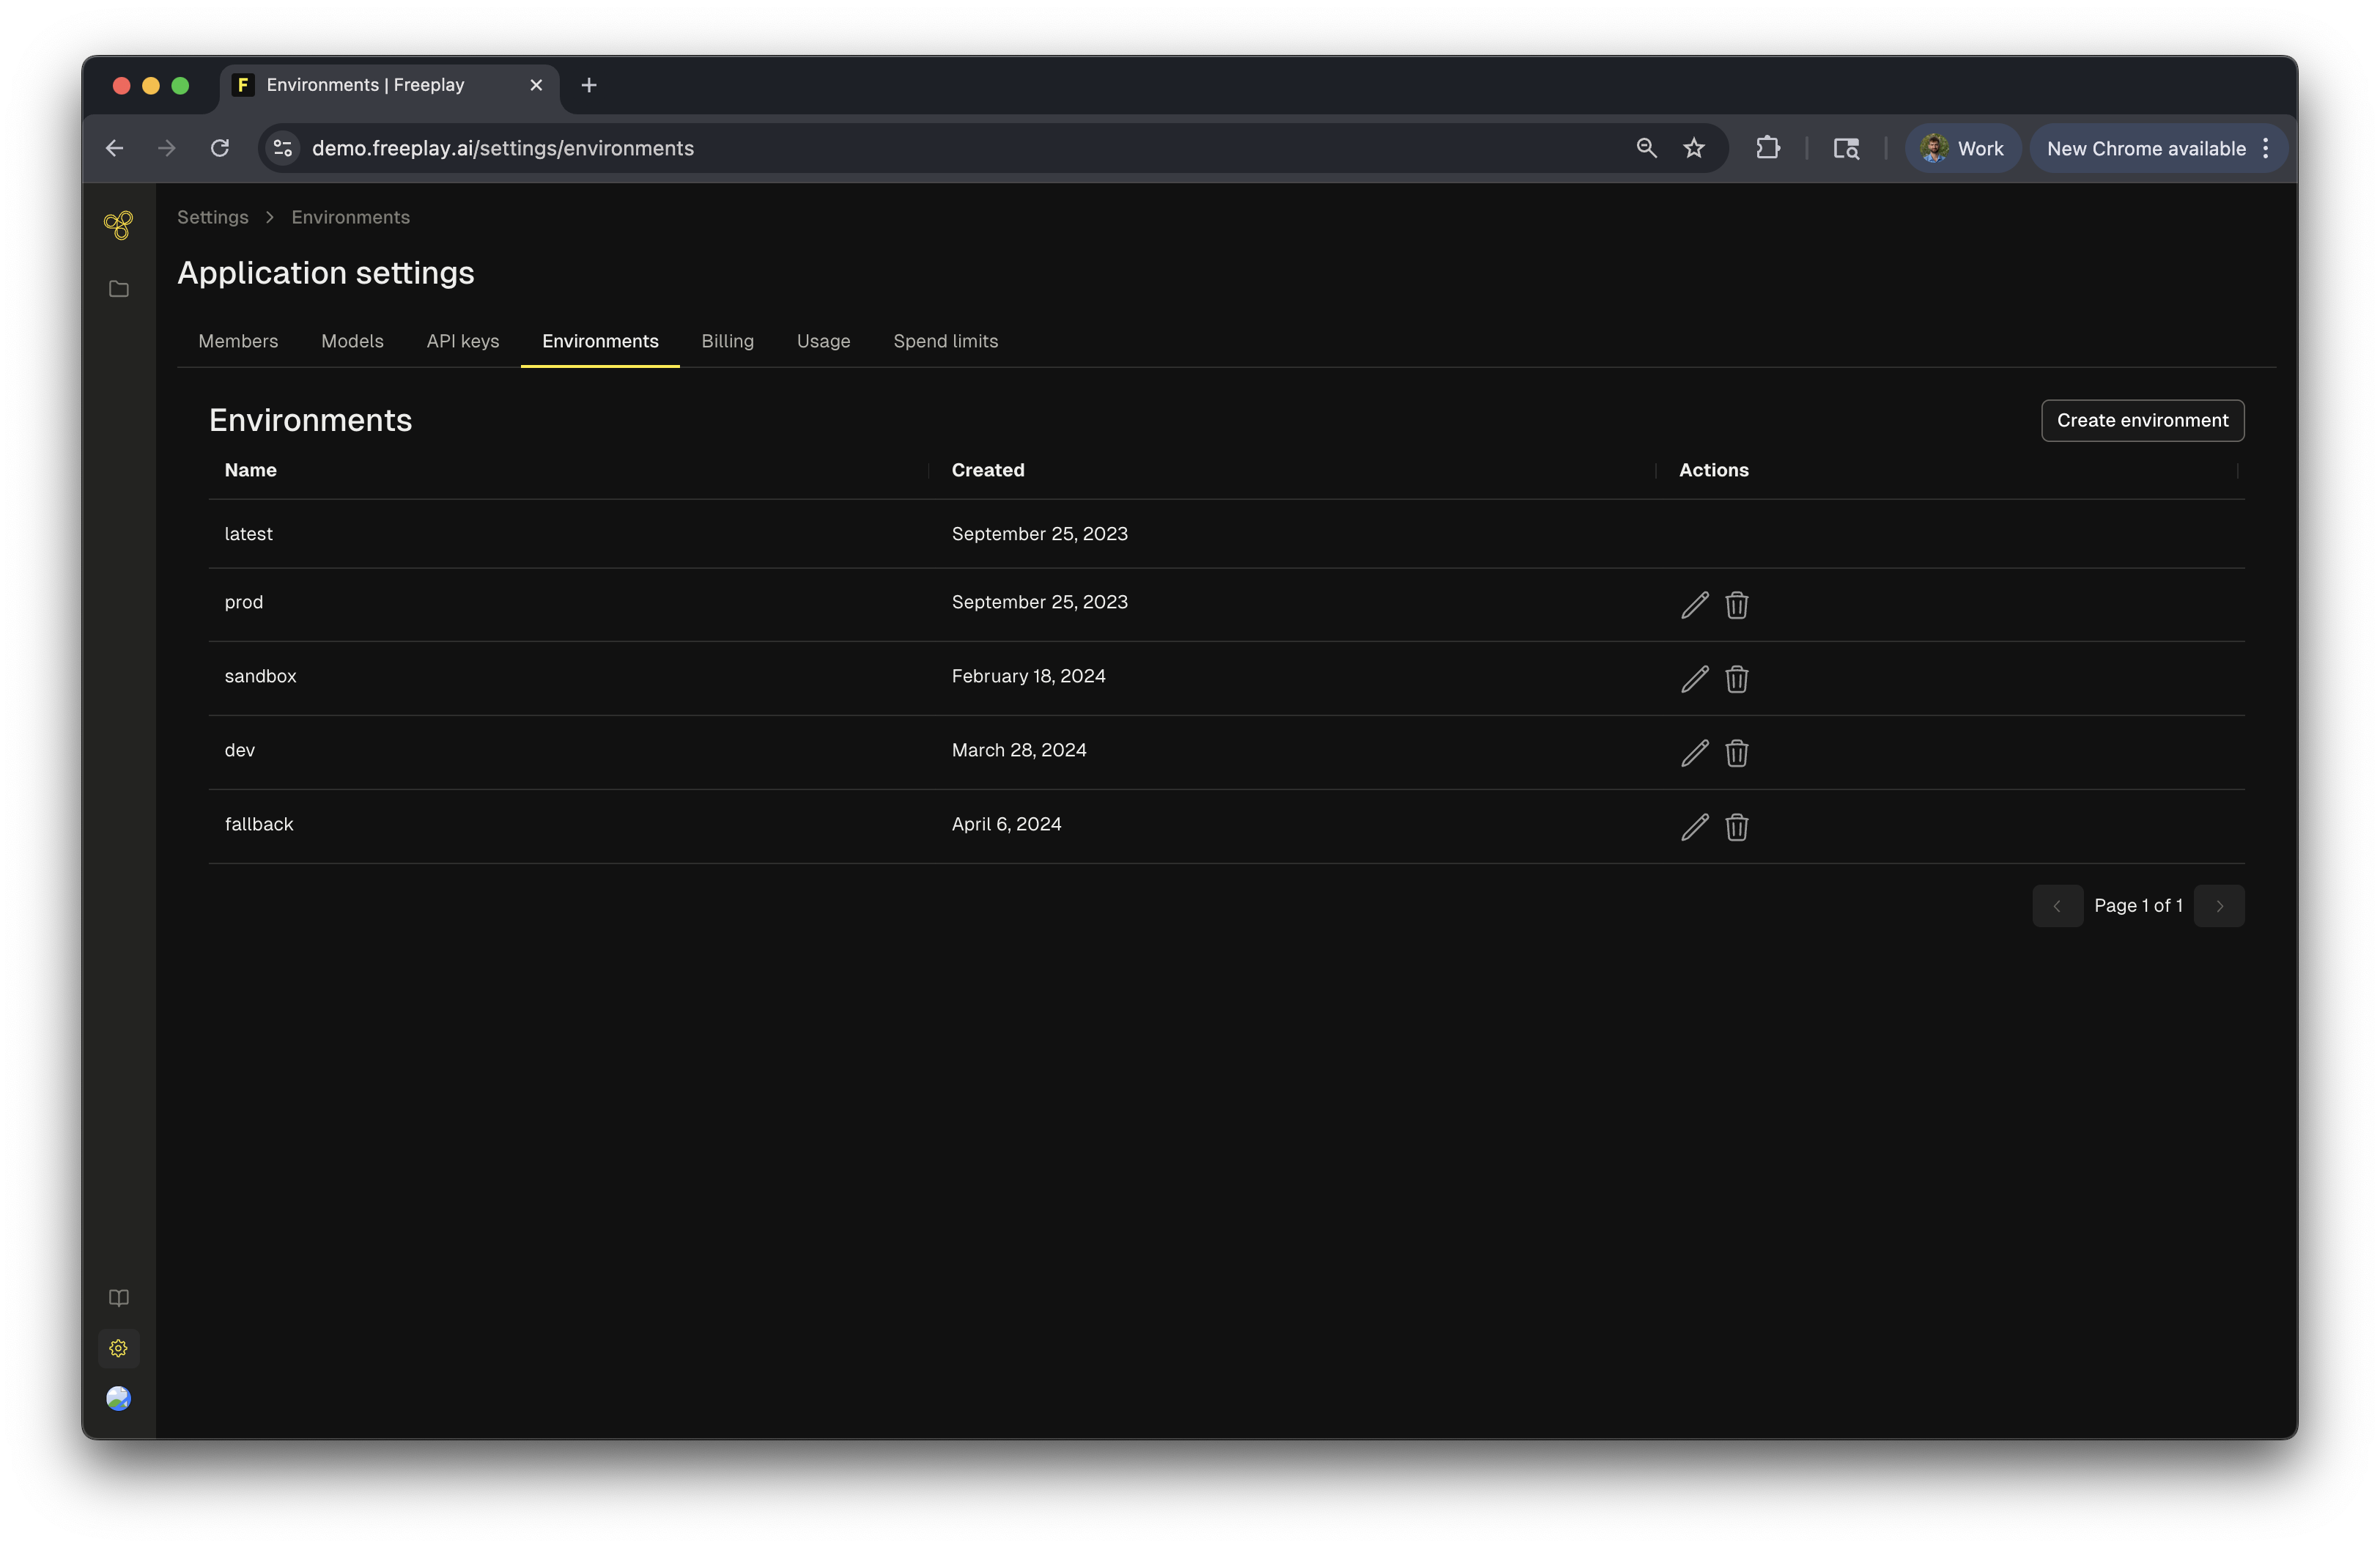
- latest - Automatically assigned to new prompt versions
- production - Your stable, live version
- sandbox - For testing before production
- dev - Development environment
Freeplay Project ID

https://app.freeplay.ai/projects/<project_id>/.
We recommend that your store this id code as an env variable and reference it as FREEPLAY_PROJECT_ID.
You’re all set! With your account configured, API key ready, and models set up, you’re ready to start building with Freeplay. Head to the Quick Start guide to create your first prompt and run your first test.