Need a Freeplay account? Sign up for free to get started, or reach out about self-hosting and enterprise options.
What you can do
- Create and iterate on prompts in the playground
- Build test datasets manually or by uploading CSV/JSONL files
- Set up evaluations including model-graded and human label values
- Run tests to compare prompt and model changes quantitatively
When you’re ready to monitor production traffic or create datasets from real user interactions, see the integration guide.
1. Create your first prompt template
From your project, click Create prompt template to open the playground.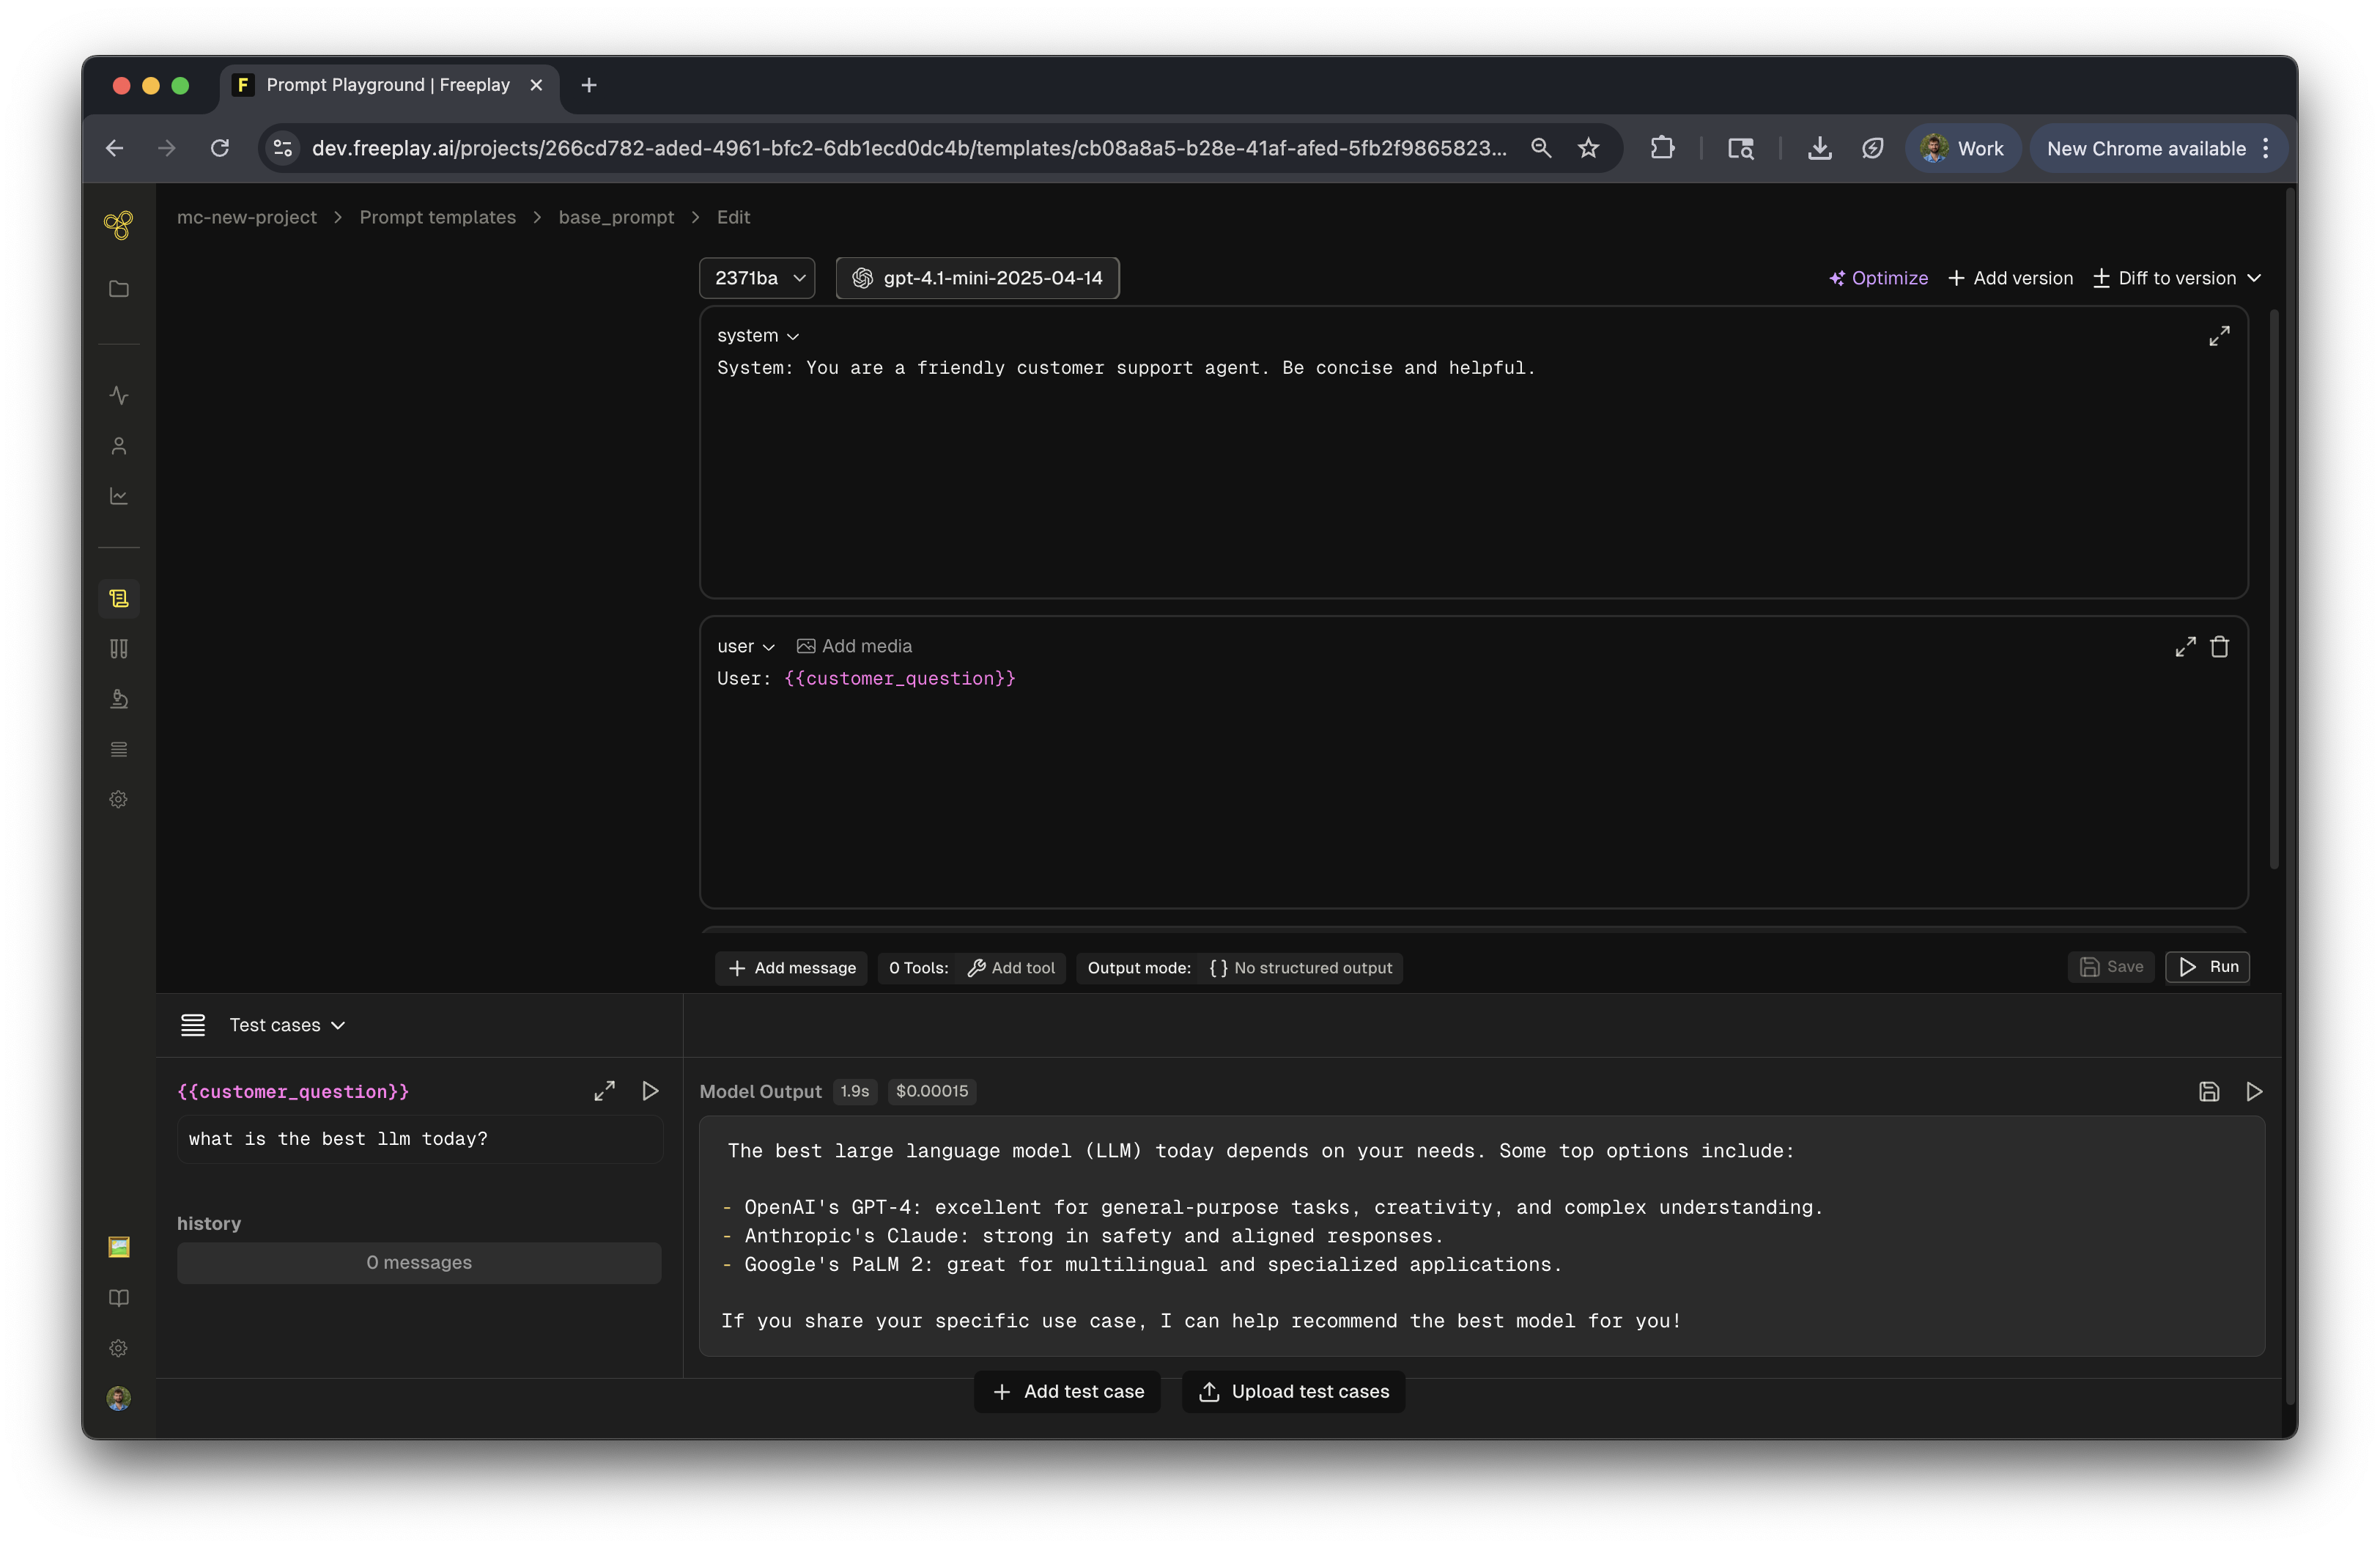
Select your model
Choose from available default providers like OpenAI, Anthropic, or Google. When you’re ready, you’ll want to configure your own API keys.Add messages and variables
Freeplay prompt templates use messages (static content) and variables (dynamic inputs using{{variable_name}} syntax). This separation enables:
- Rapidly building datasets from actual logs
- Setting up evaluations that reference or compare specific input variables
- Easy batch testing across different inputs or test cases
Message types
- System message: Sets the AI’s behavior and personality. This is your base instruction that defines how the AI should act.
- User message: Represents input from your end user. Use variables to make it dynamic:
Create an album name for {{artist}} - Assistant message: Pre-filled AI responses that can serve different purposes, e.g. few-shot examples.
- History: A special message type in Freeplay that represents conversation history in multi-turn conversations or maintains context in agent traces.
Configure advanced settings
Beyond messages, you can set model-specific hyperparameters like temperature, max tokens, and other model parameters. You can also add tools for function calling or enable structured outputs.Test in the playground
Before saving, test your prompt across a range of examples by loading saved datasets or manually entering values for each variable and clicking Run. Outputs generated in the playground can be saved to start building your first dataset.Save your prompt template
Once you’re satisfied, click Save and name your prompt template. Optionally add a version name and description to help your team understand what changed. Each version of the prompt template that you save includes the prompt text and variables, the model and provider selected, and any hyperparameters you set. Learn more about prompt templates2. Create a dataset
Datasets power your evaluations and test runs. You can:- Save from the playground: Save examples manually as you iterate in the playground
- Upload data: Import CSV or JSONL files with test cases
- Add manually: Create individual examples in the datasets UI
3. Set up evaluations
Define how you’ll measure quality. Freeplay supports:- Model-graded evaluations: Use an LLM judge to score outputs
- Auto-categorization: Automatically classify outputs against criteria
- Code evaluations: Custom logic (requires integration)
- Human labels: Manual review by team members
4. Run batch tests
Once you have a prompt, dataset, and evaluations configured:- Navigate to your prompt template
- Click Run test
- Select your dataset and the evaluators you want to run
- Compare results across versions